New Machine Tool Day
Introduction
I bought a lathe — a Sherline Model 1100 from 1972 — for 140 CHF (an absolute steal). Made in Australia (shout-out to the Aussies).
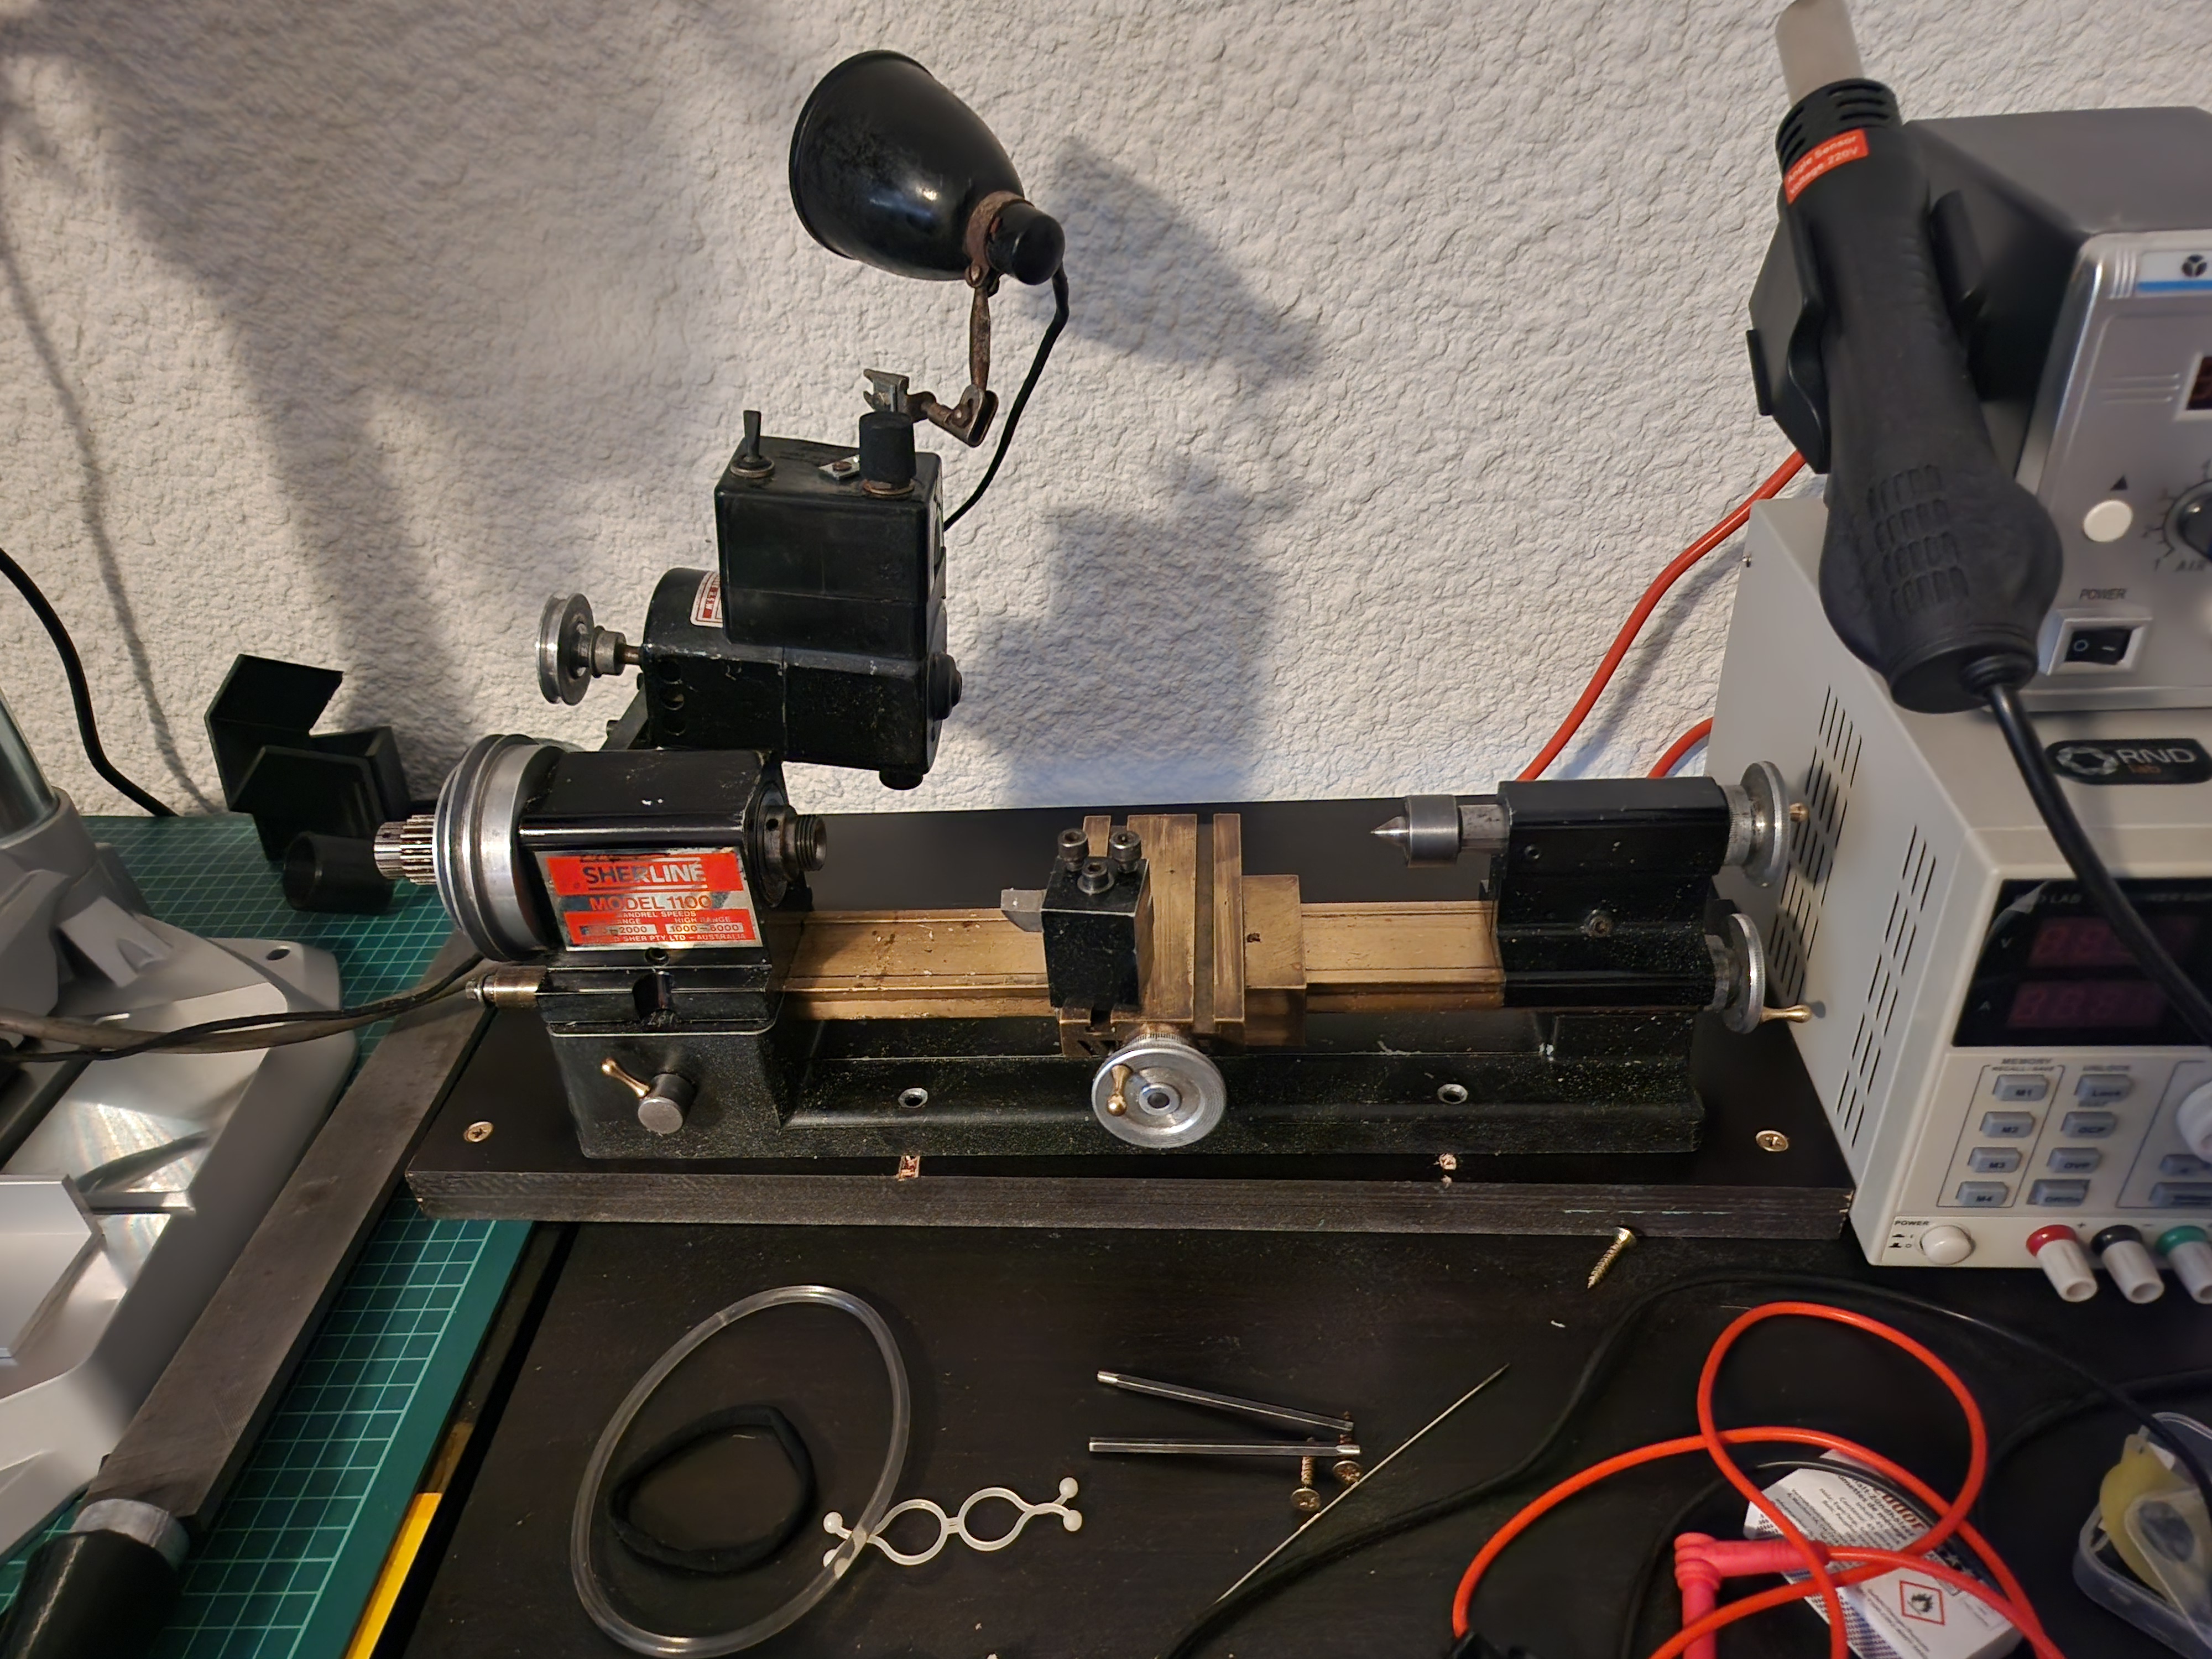 Lathe Out-of-the-Box
But first things first…
Materials & Tools Needed 🛠️
Nothing fancy here — just the basics:
| Tools | Materials |
|---|---|
| Screwdrivers | Shop Towels |
| Pliers | Solvent (e.g., WD-40) |
| Wirebrushes | Whale Oil (ISO-68) |
| Scotch-Brite |
Cleaning Up 🧼🫧
Disassembling this beast is mandatory before cleaning. Here’s the process:
1. Cables
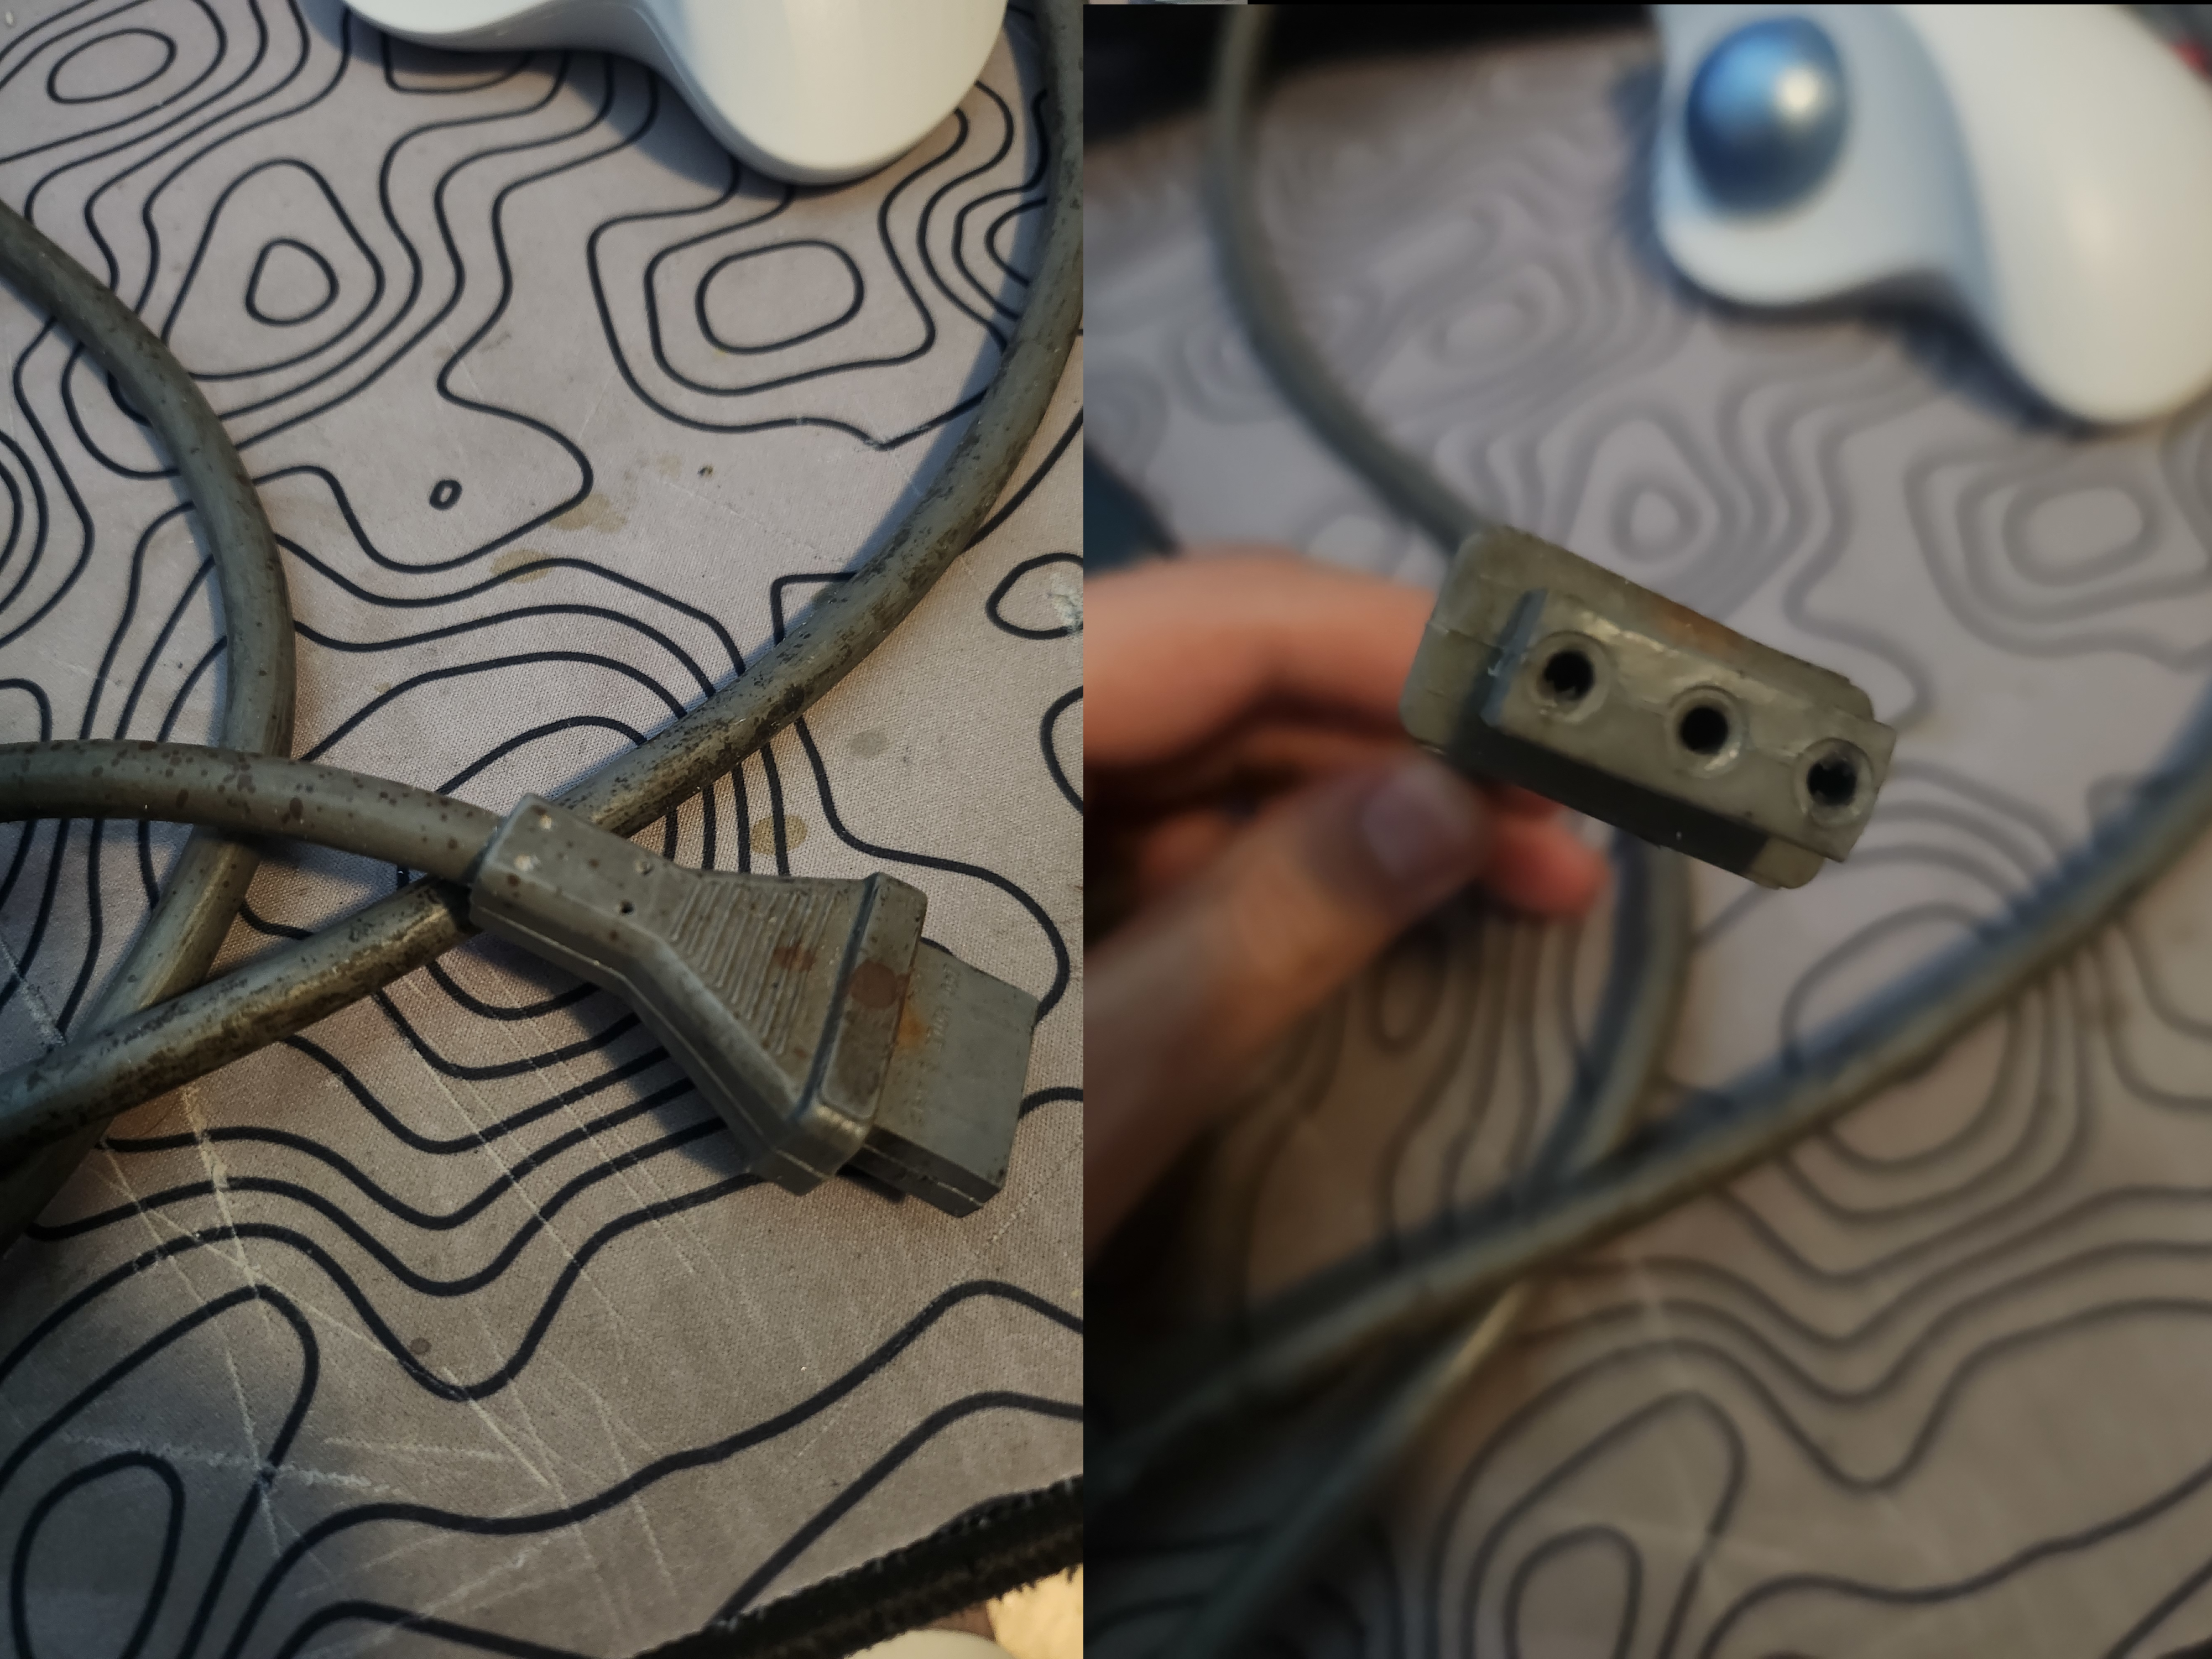
Power cable
2. Motor Mount
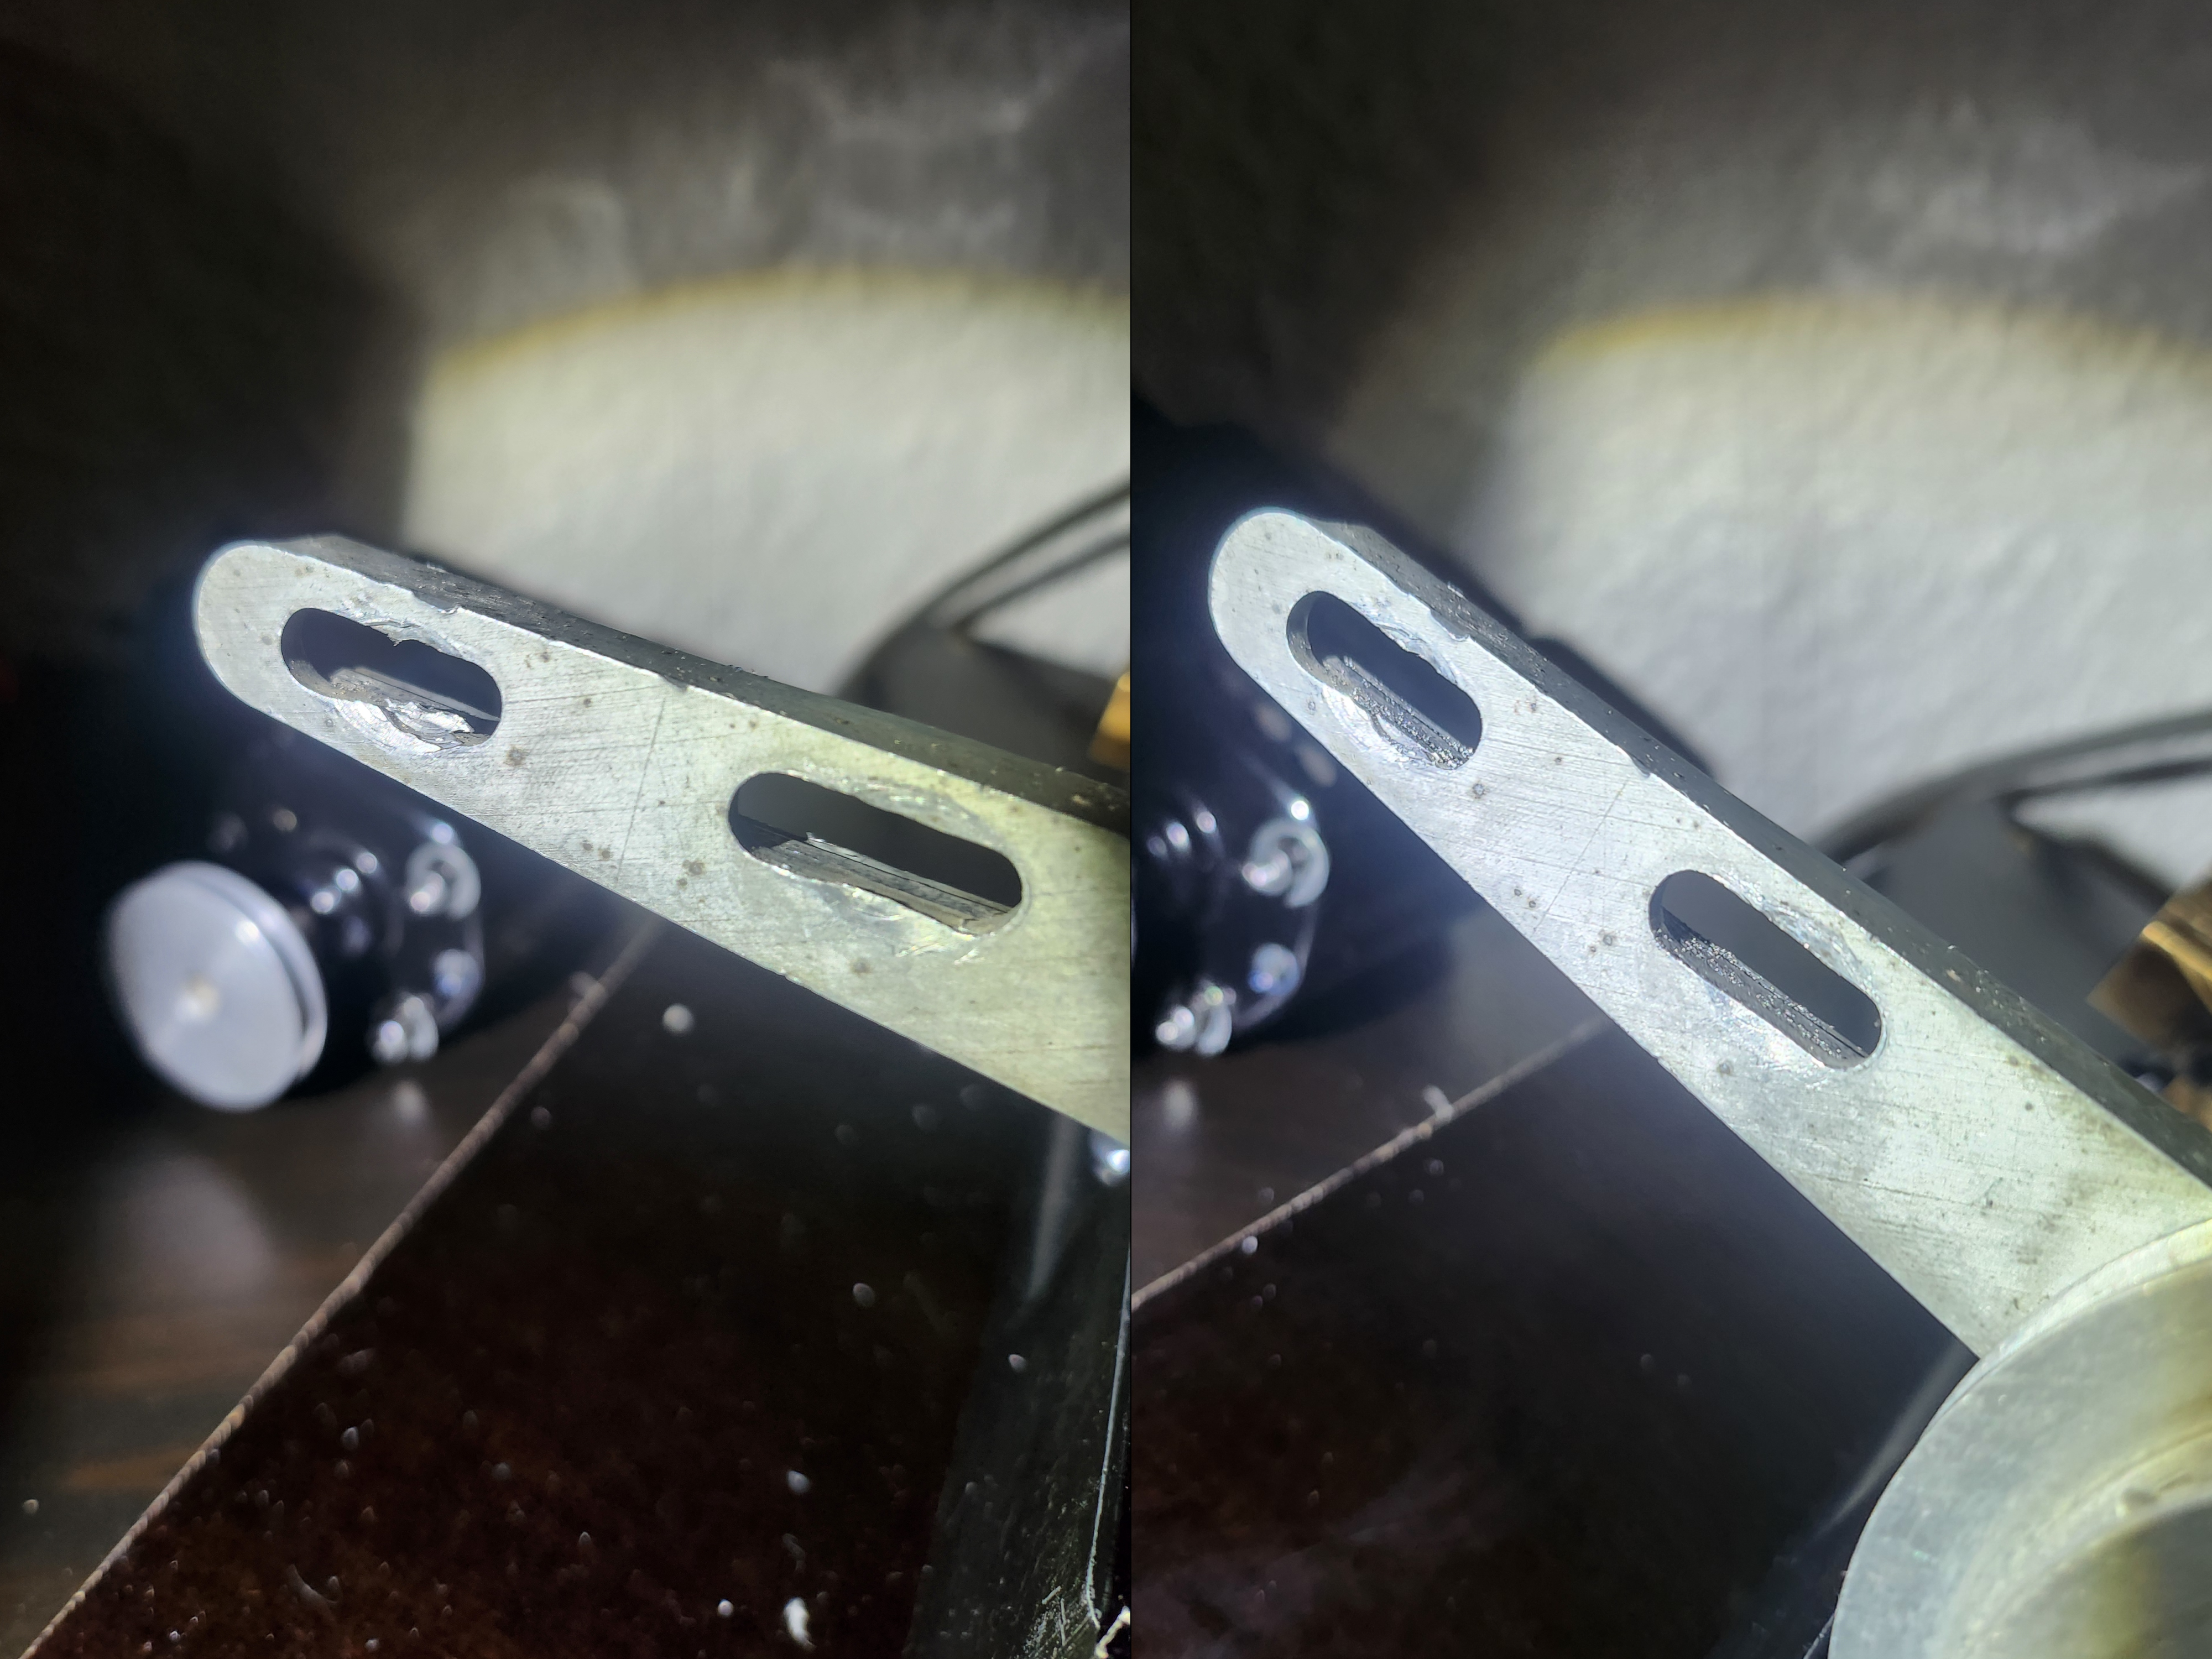
Before and after filing
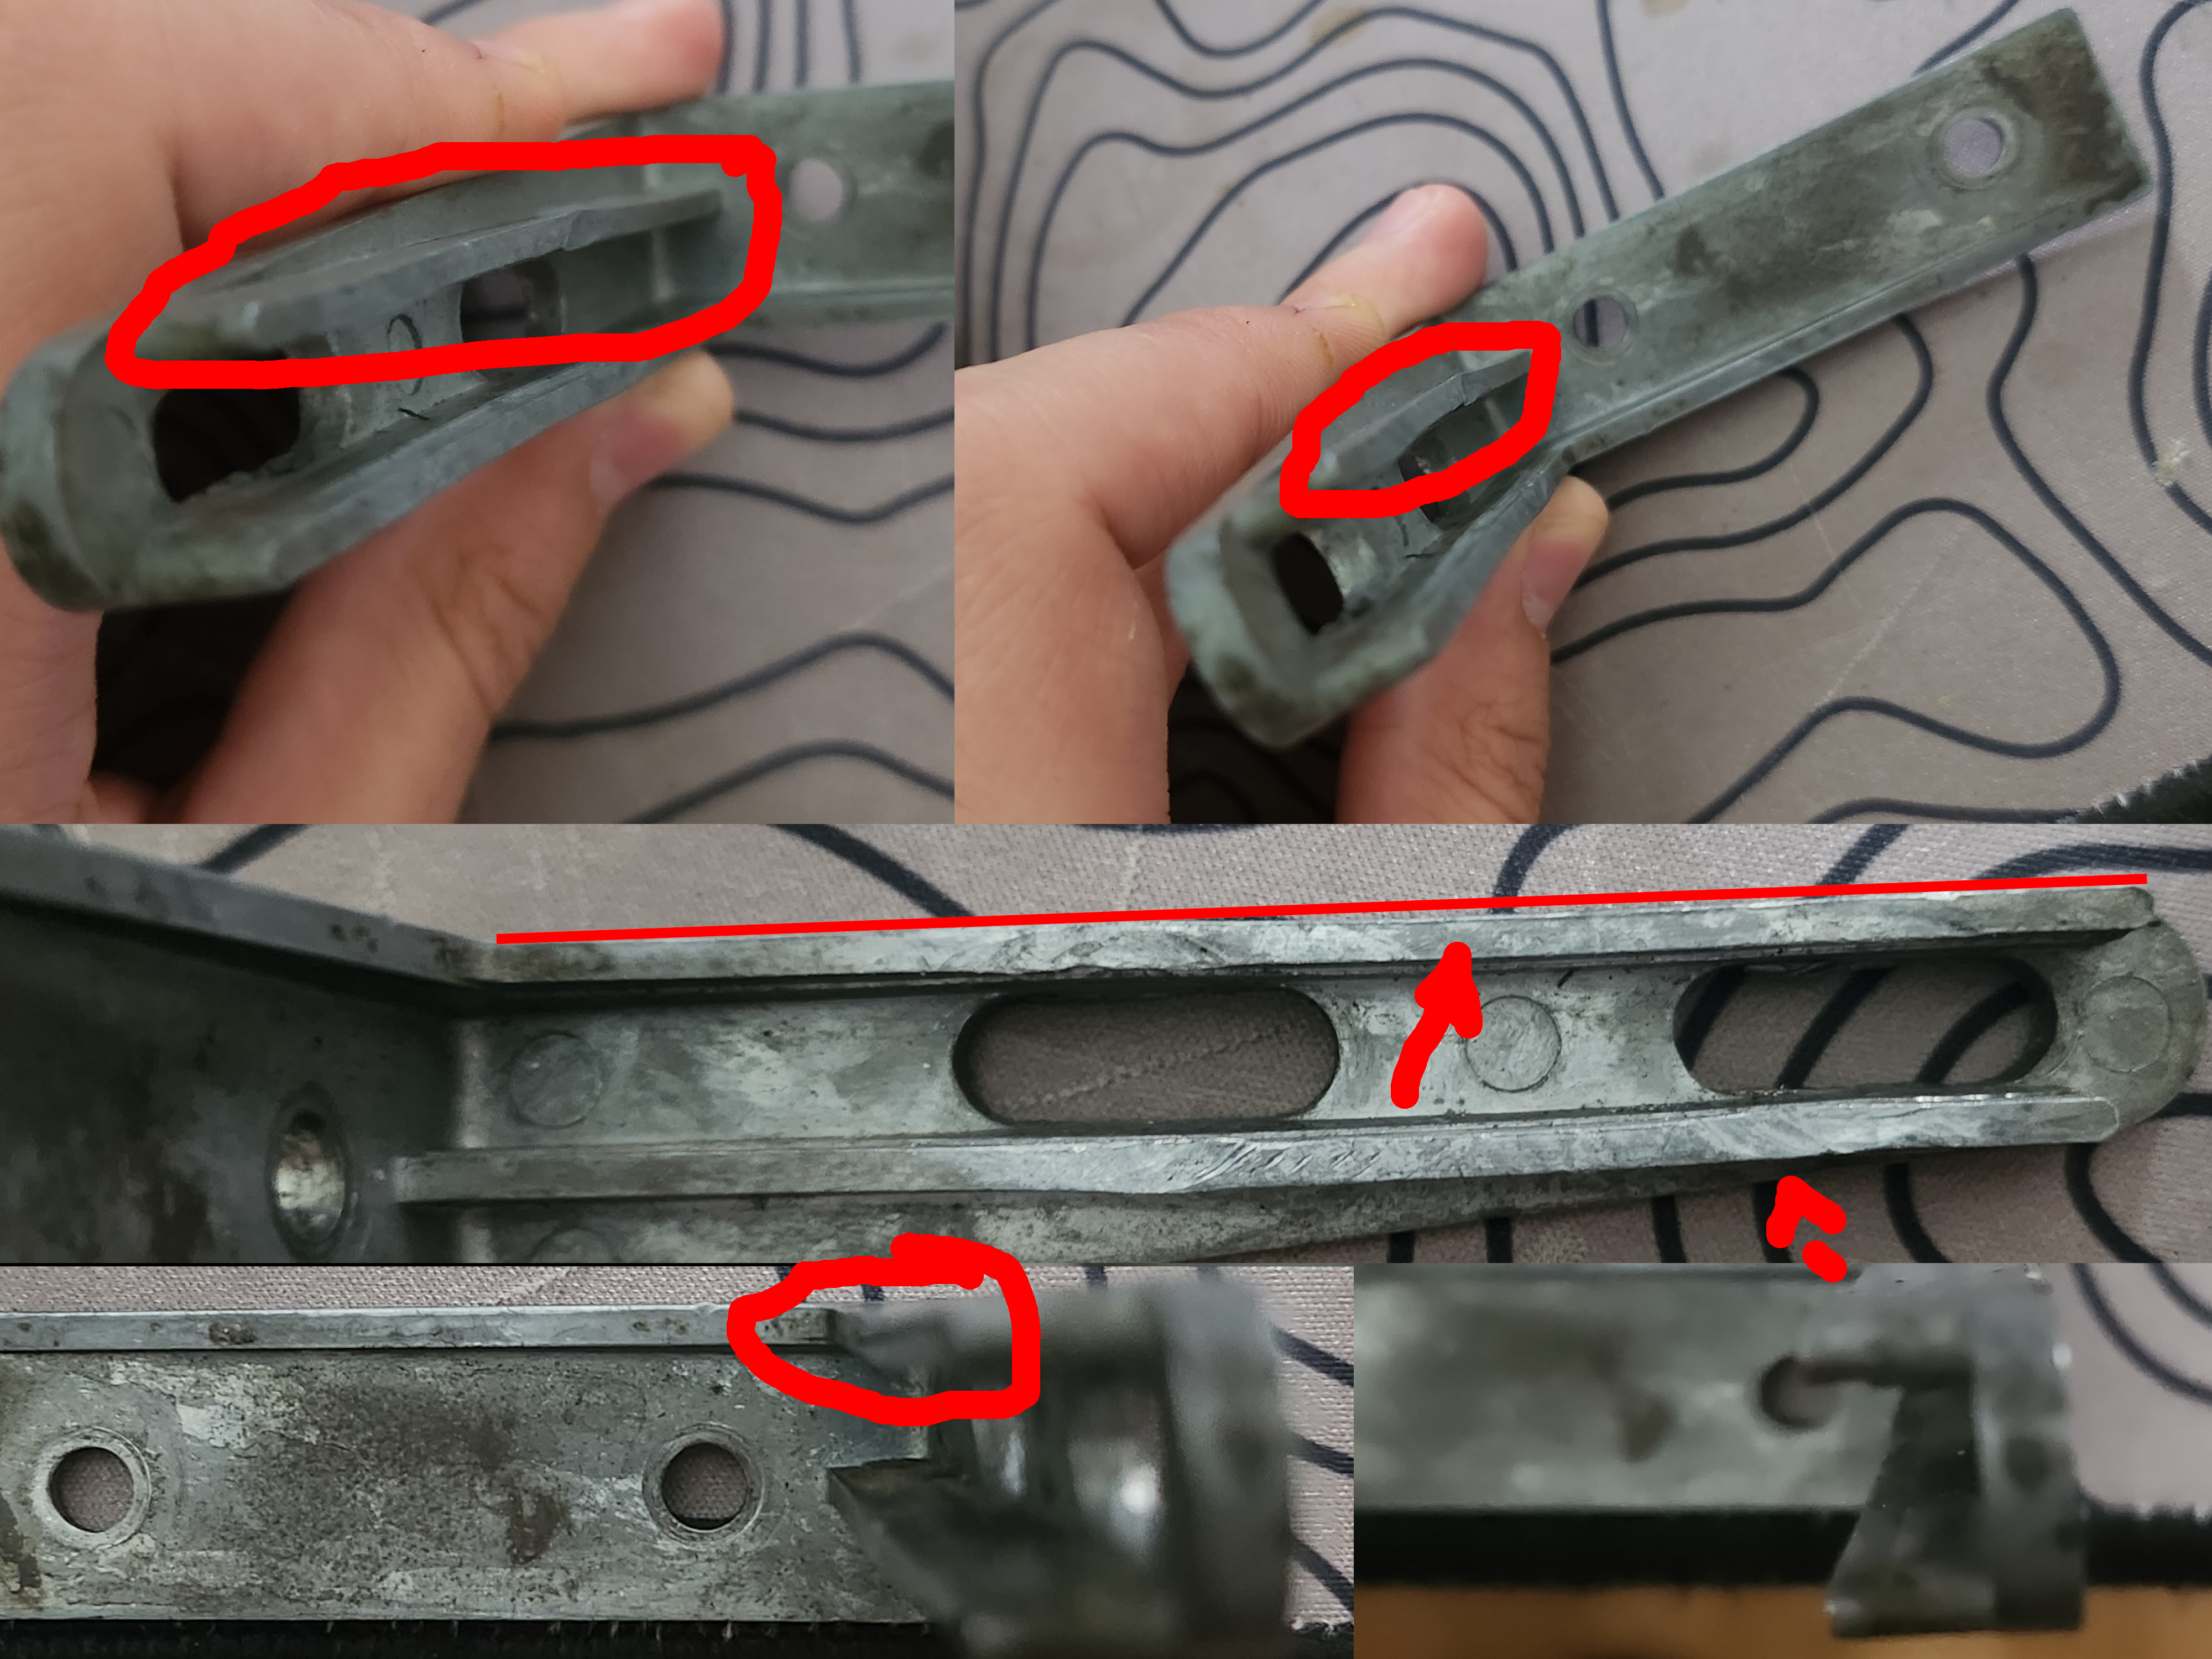
Bracket issues
3. Motor
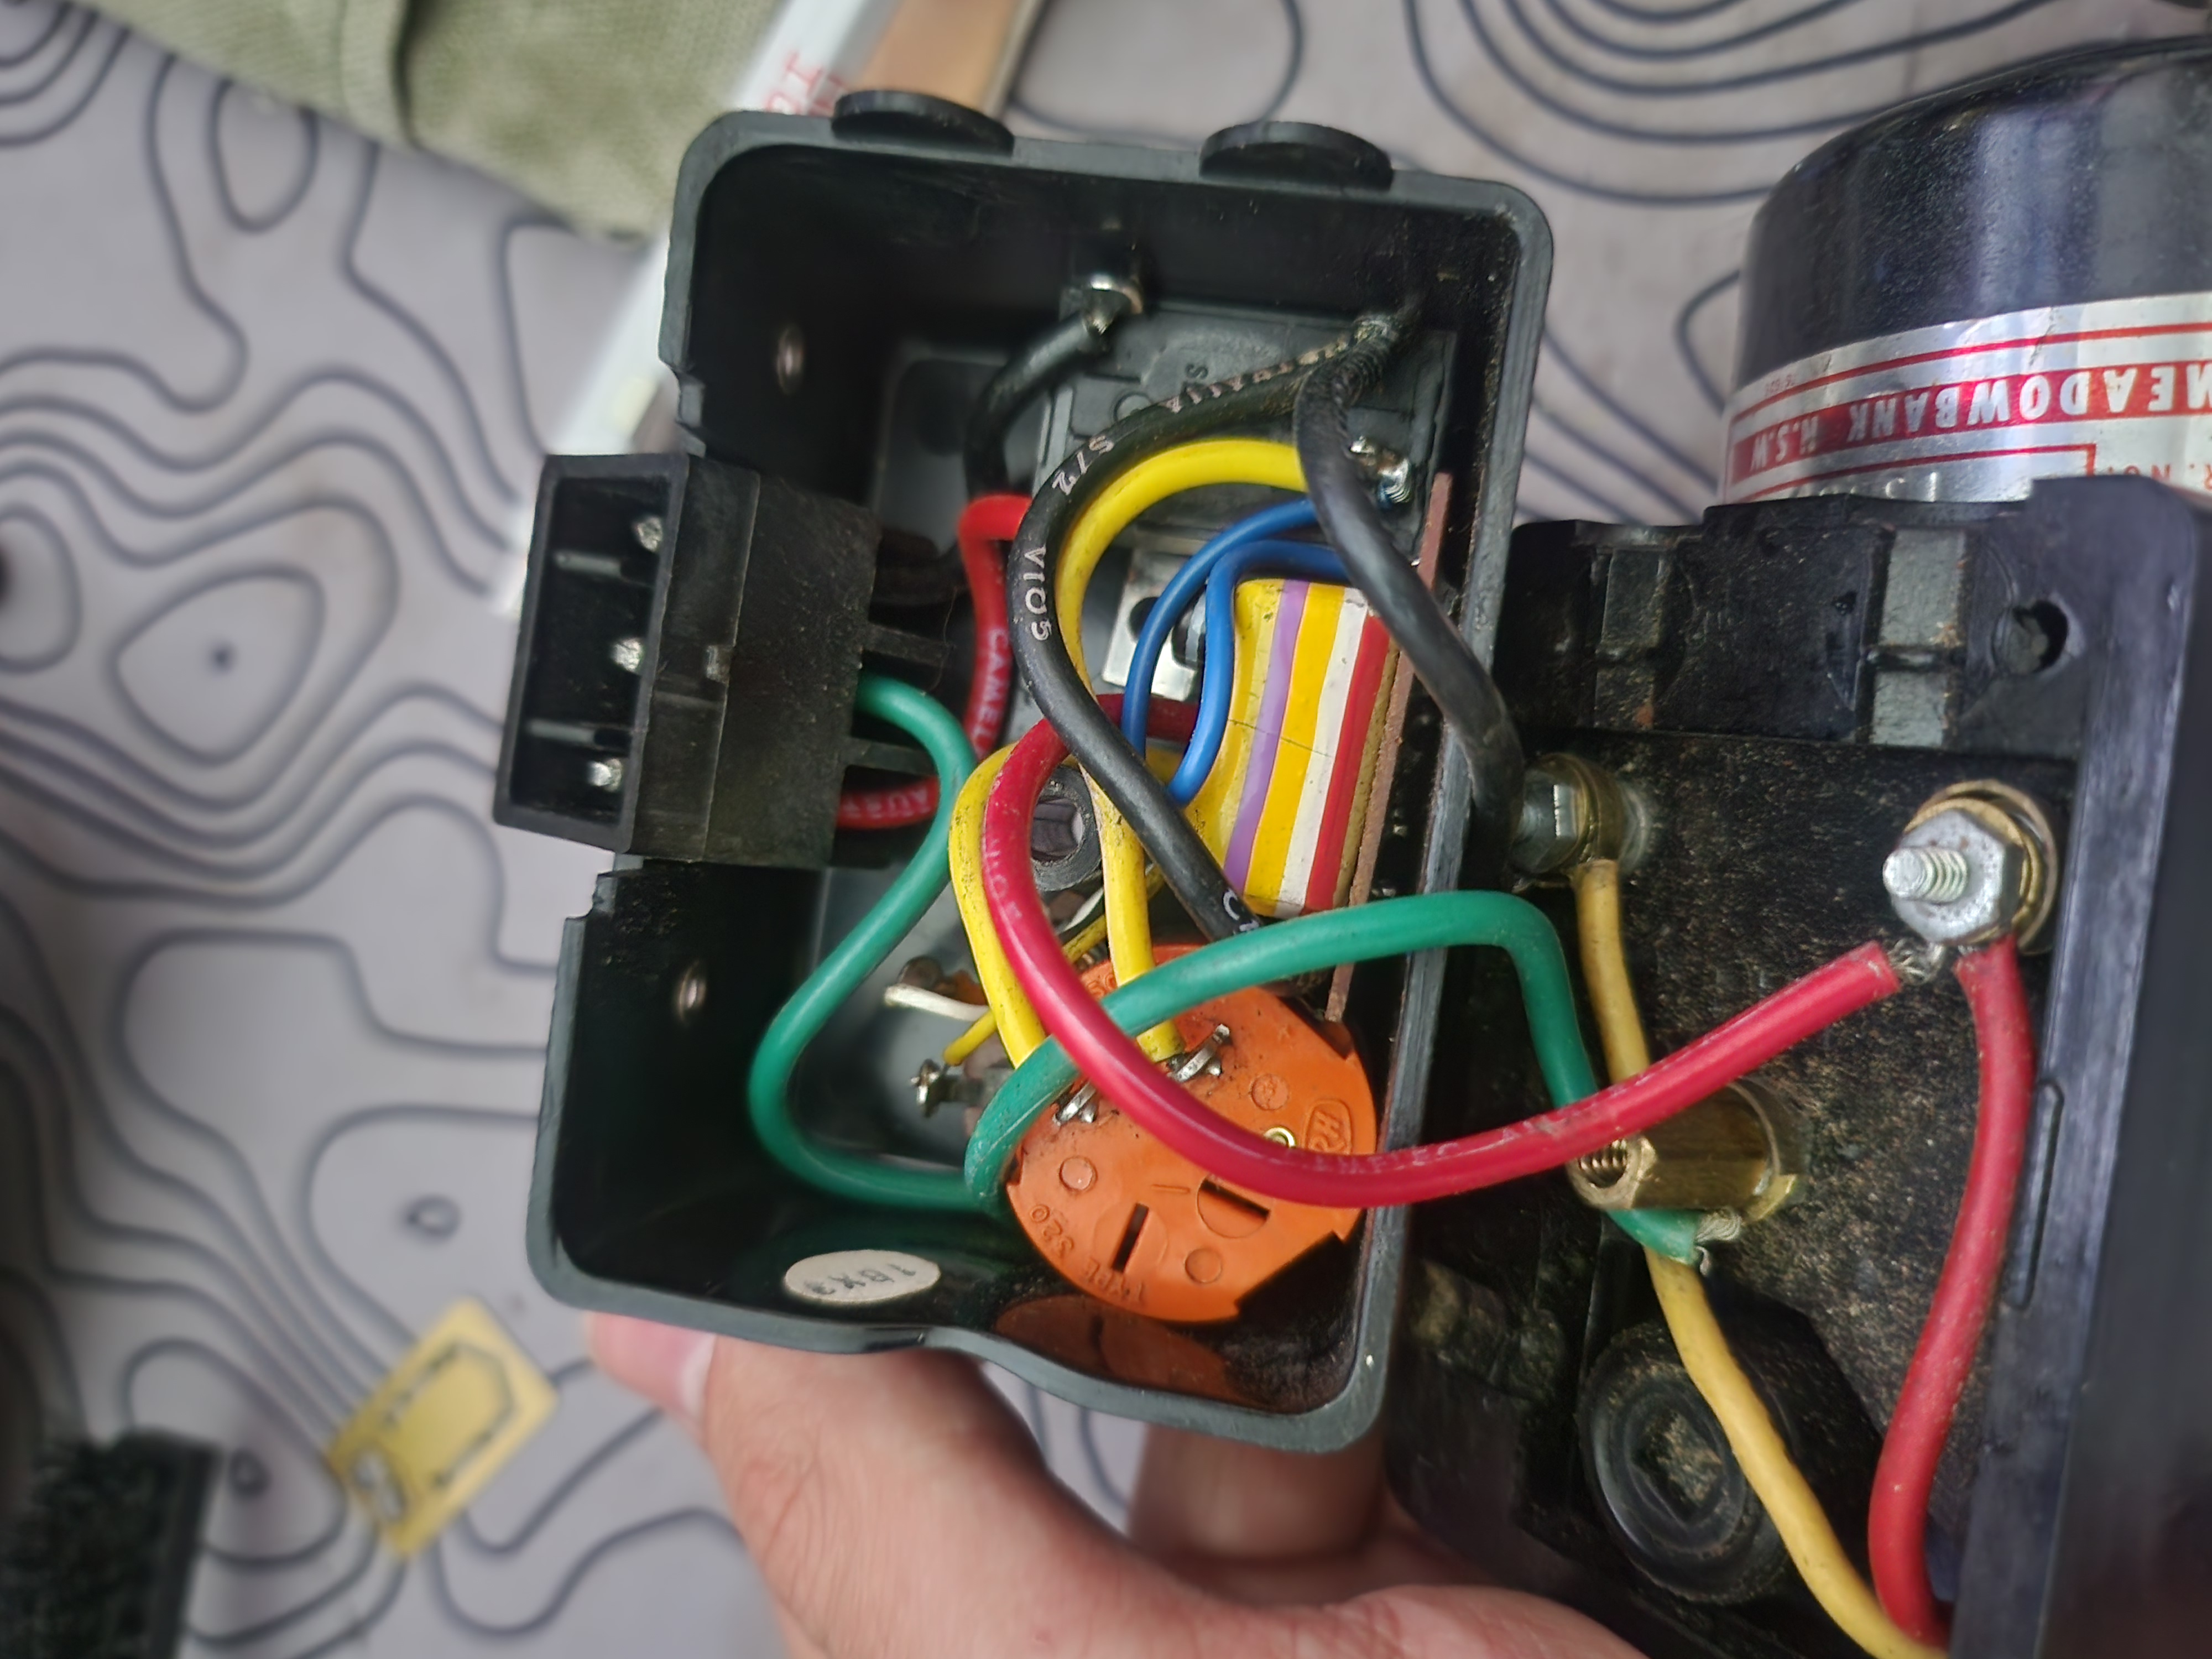
Motor wiring
4. Lamp
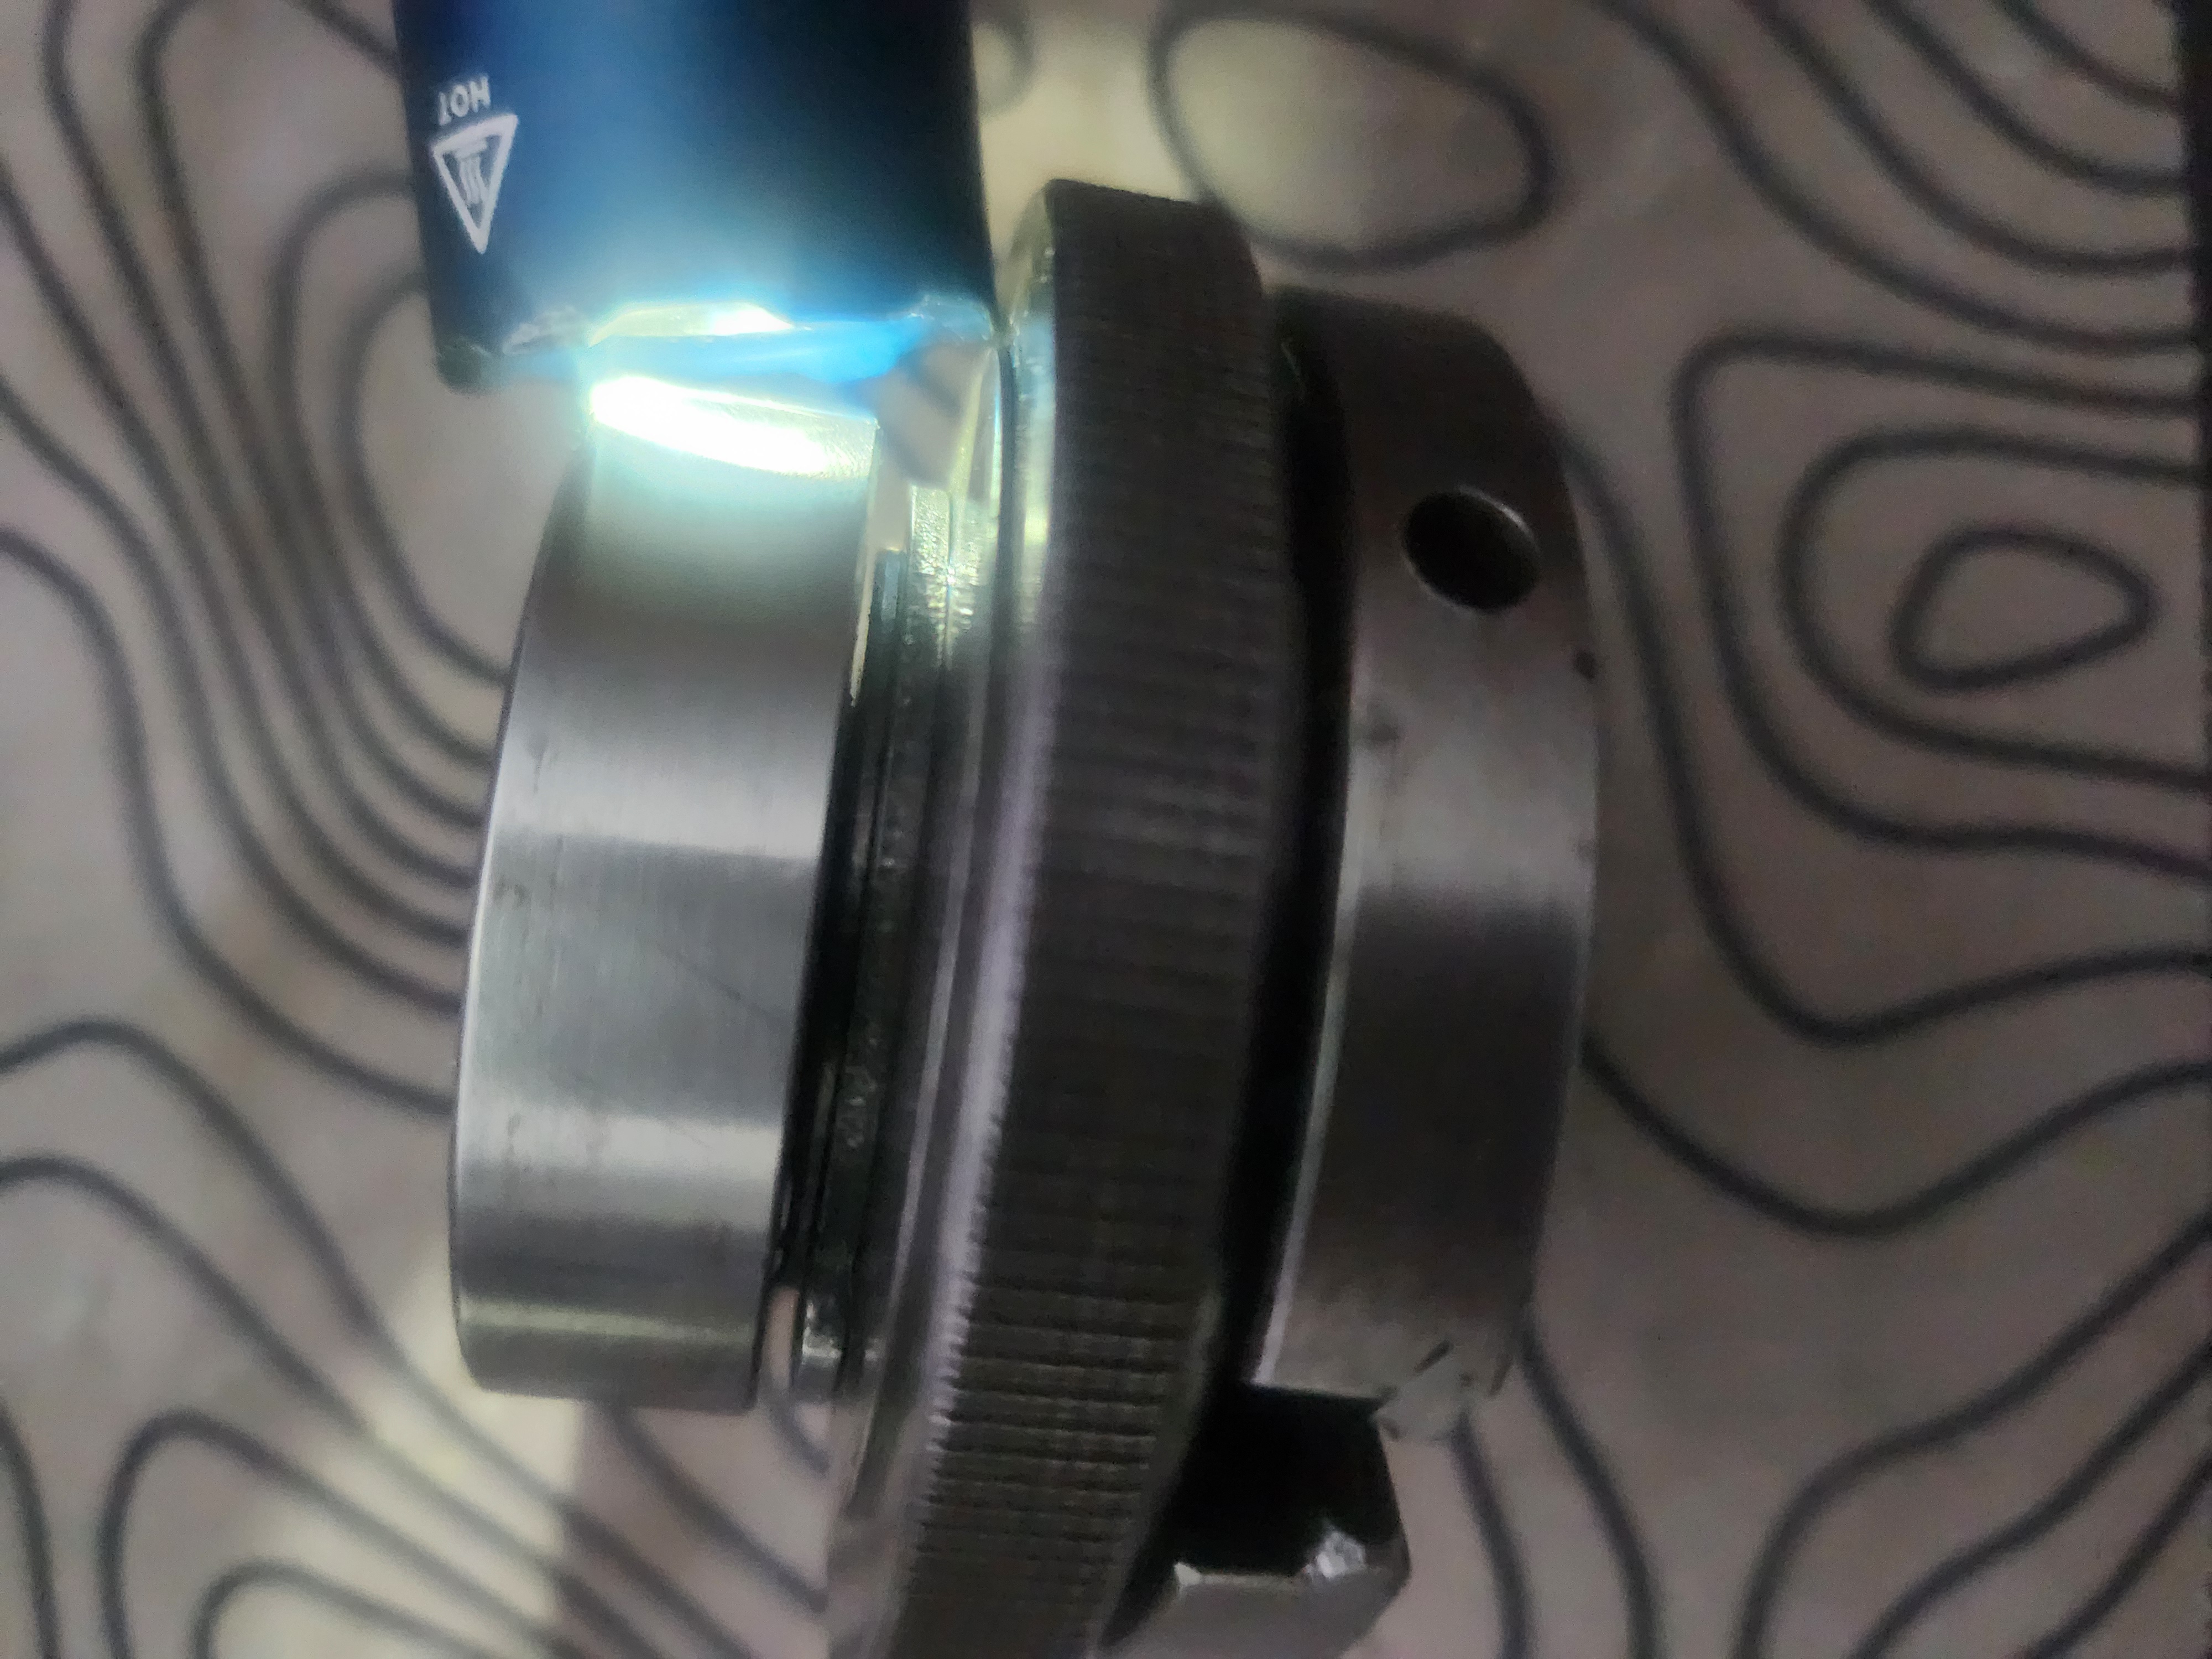
5. Lathe Chuck
6. Handwheels
7. Tail Stock
8. Cross Slide
9. Headstock
10. Bed Ways
Once everything was disassembled, it was time to clean, oil, and reassemble.
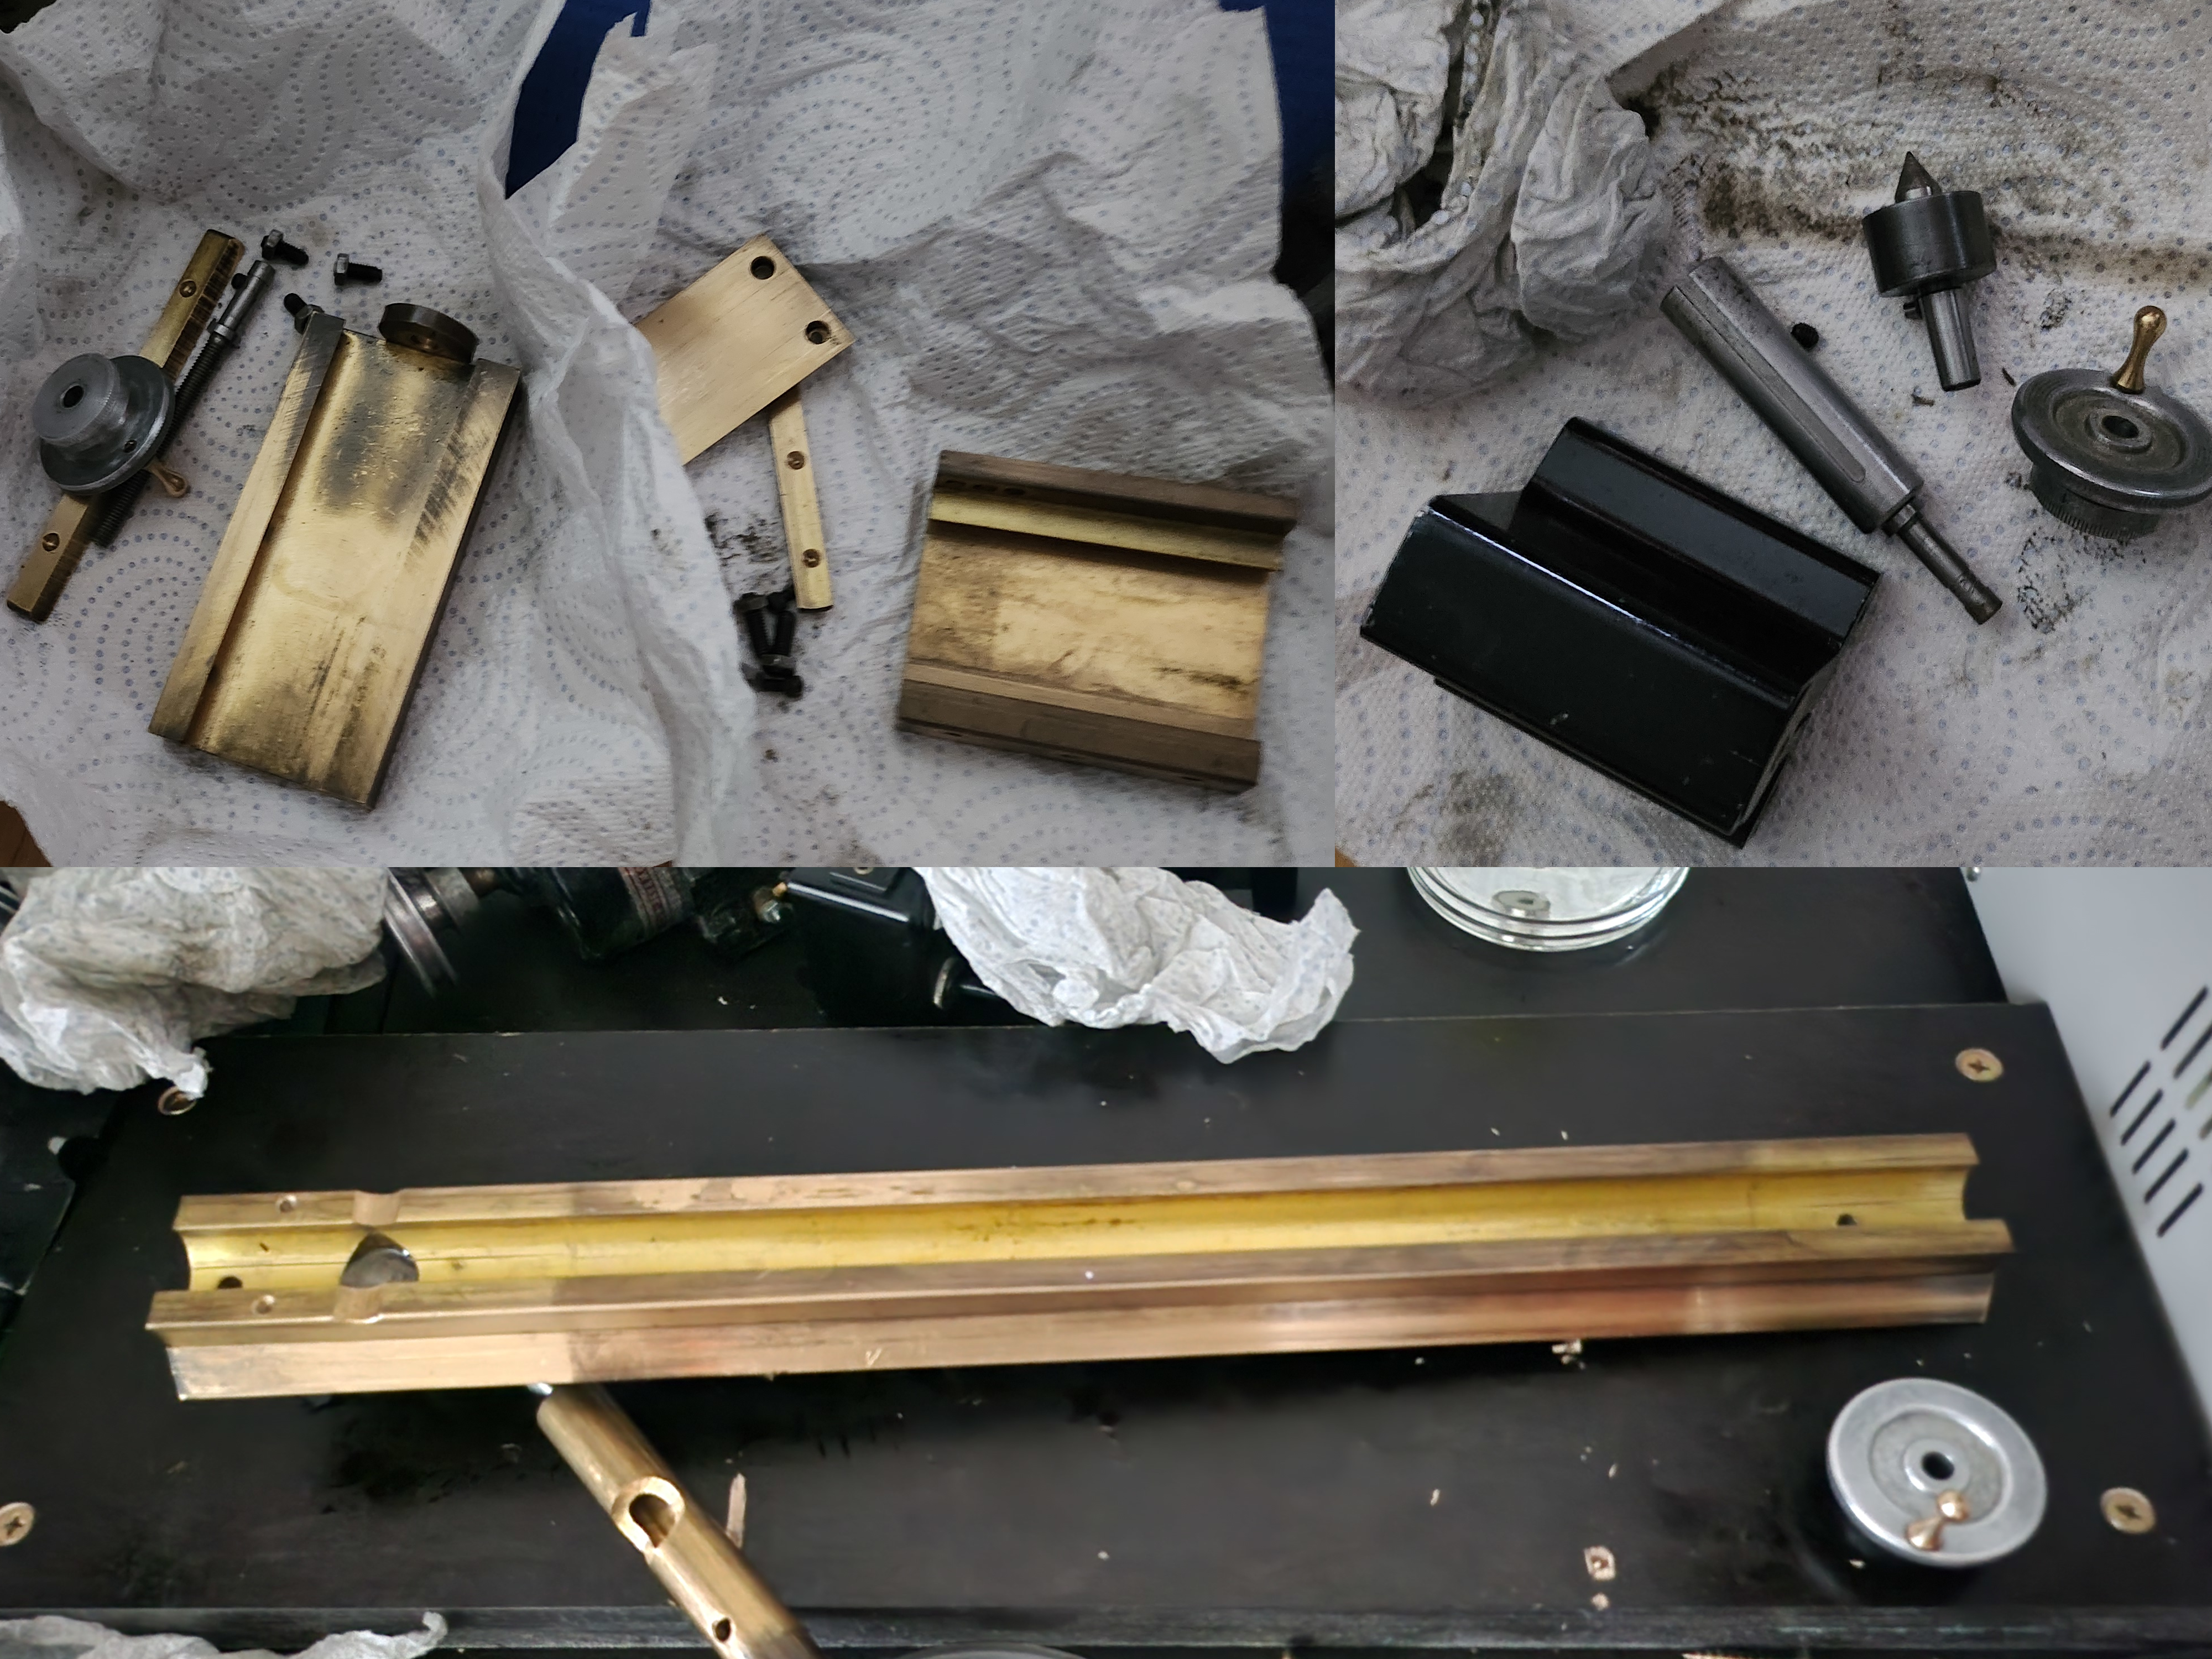 Over-all Clean-Up Process
Oiling 🛢️
Use ISO-68 (HLP-68 is basically the same stuff), also known as Whale Oil 🐋
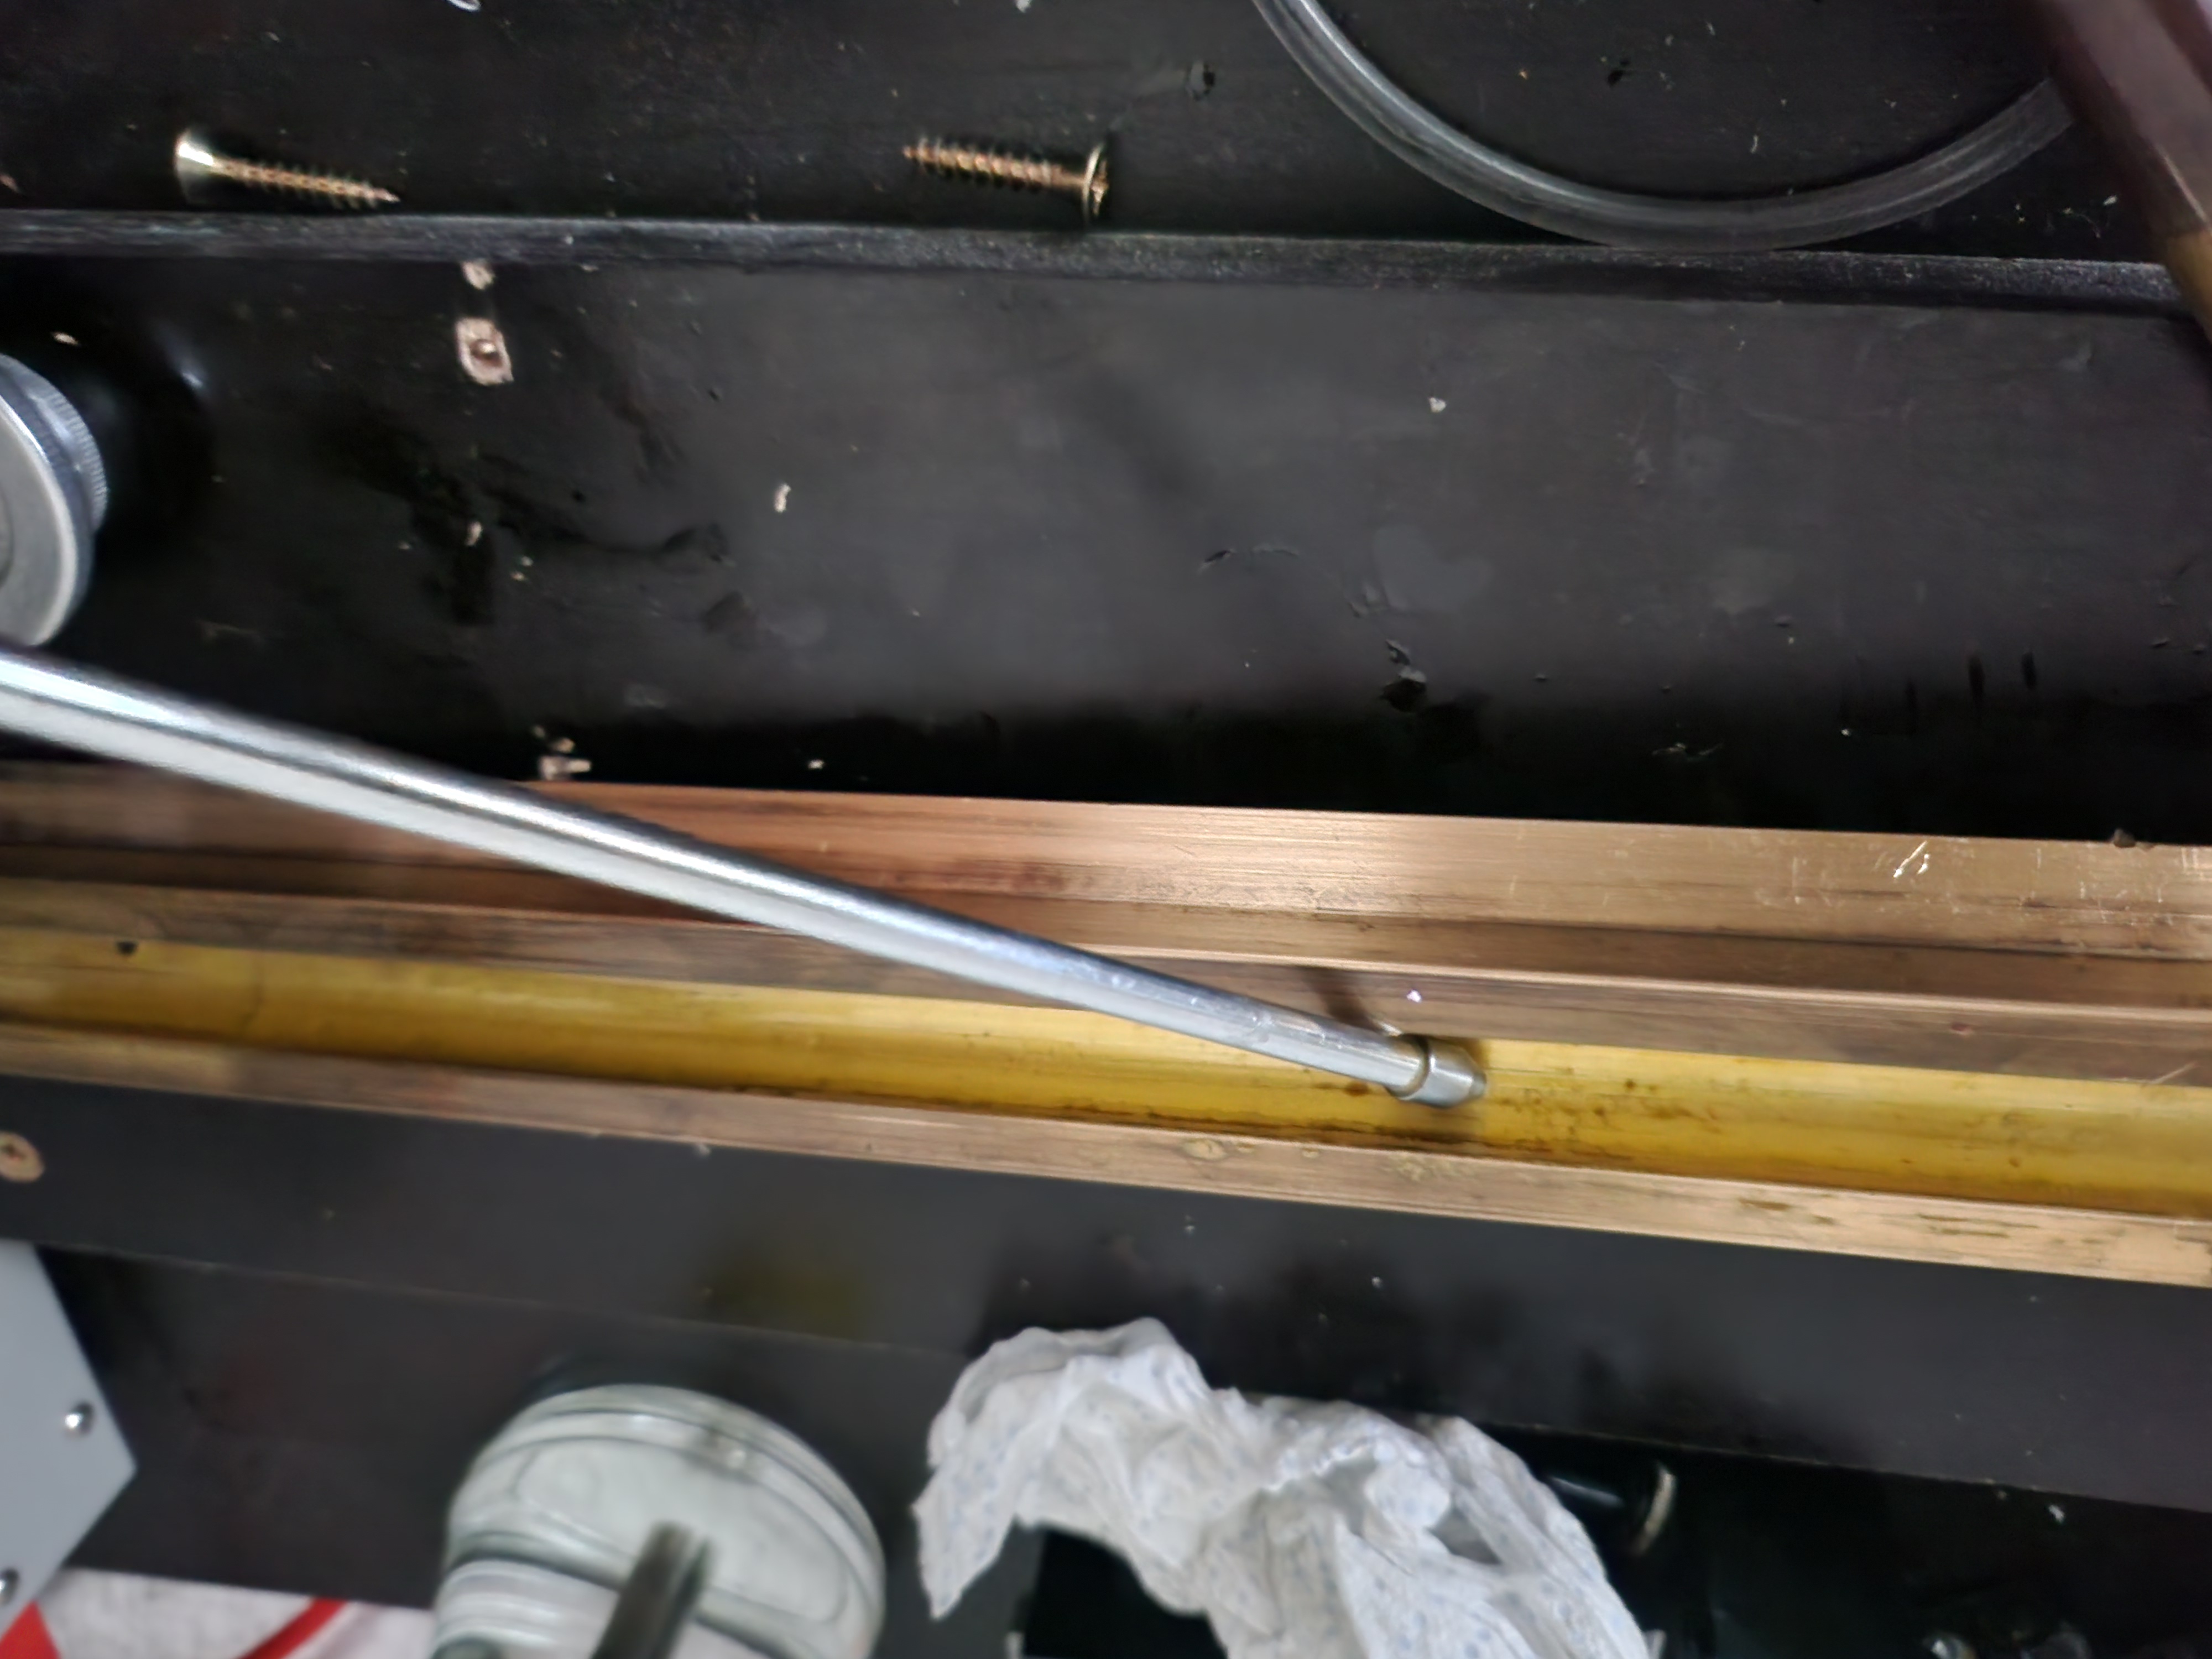 Oiling the Bottom Ways
Chuck
The chuck should have been the easiest part to clean, but it turned into the hardest because of a stuck backplate. I put it aside until the rest of the lathe was back together.
It took me two hours to remove the threaded backplate — it was absolutely packed with crud. A bit of WD-40 helped once it was fully disassembled.
 Tiny gaps made by prying the backplate
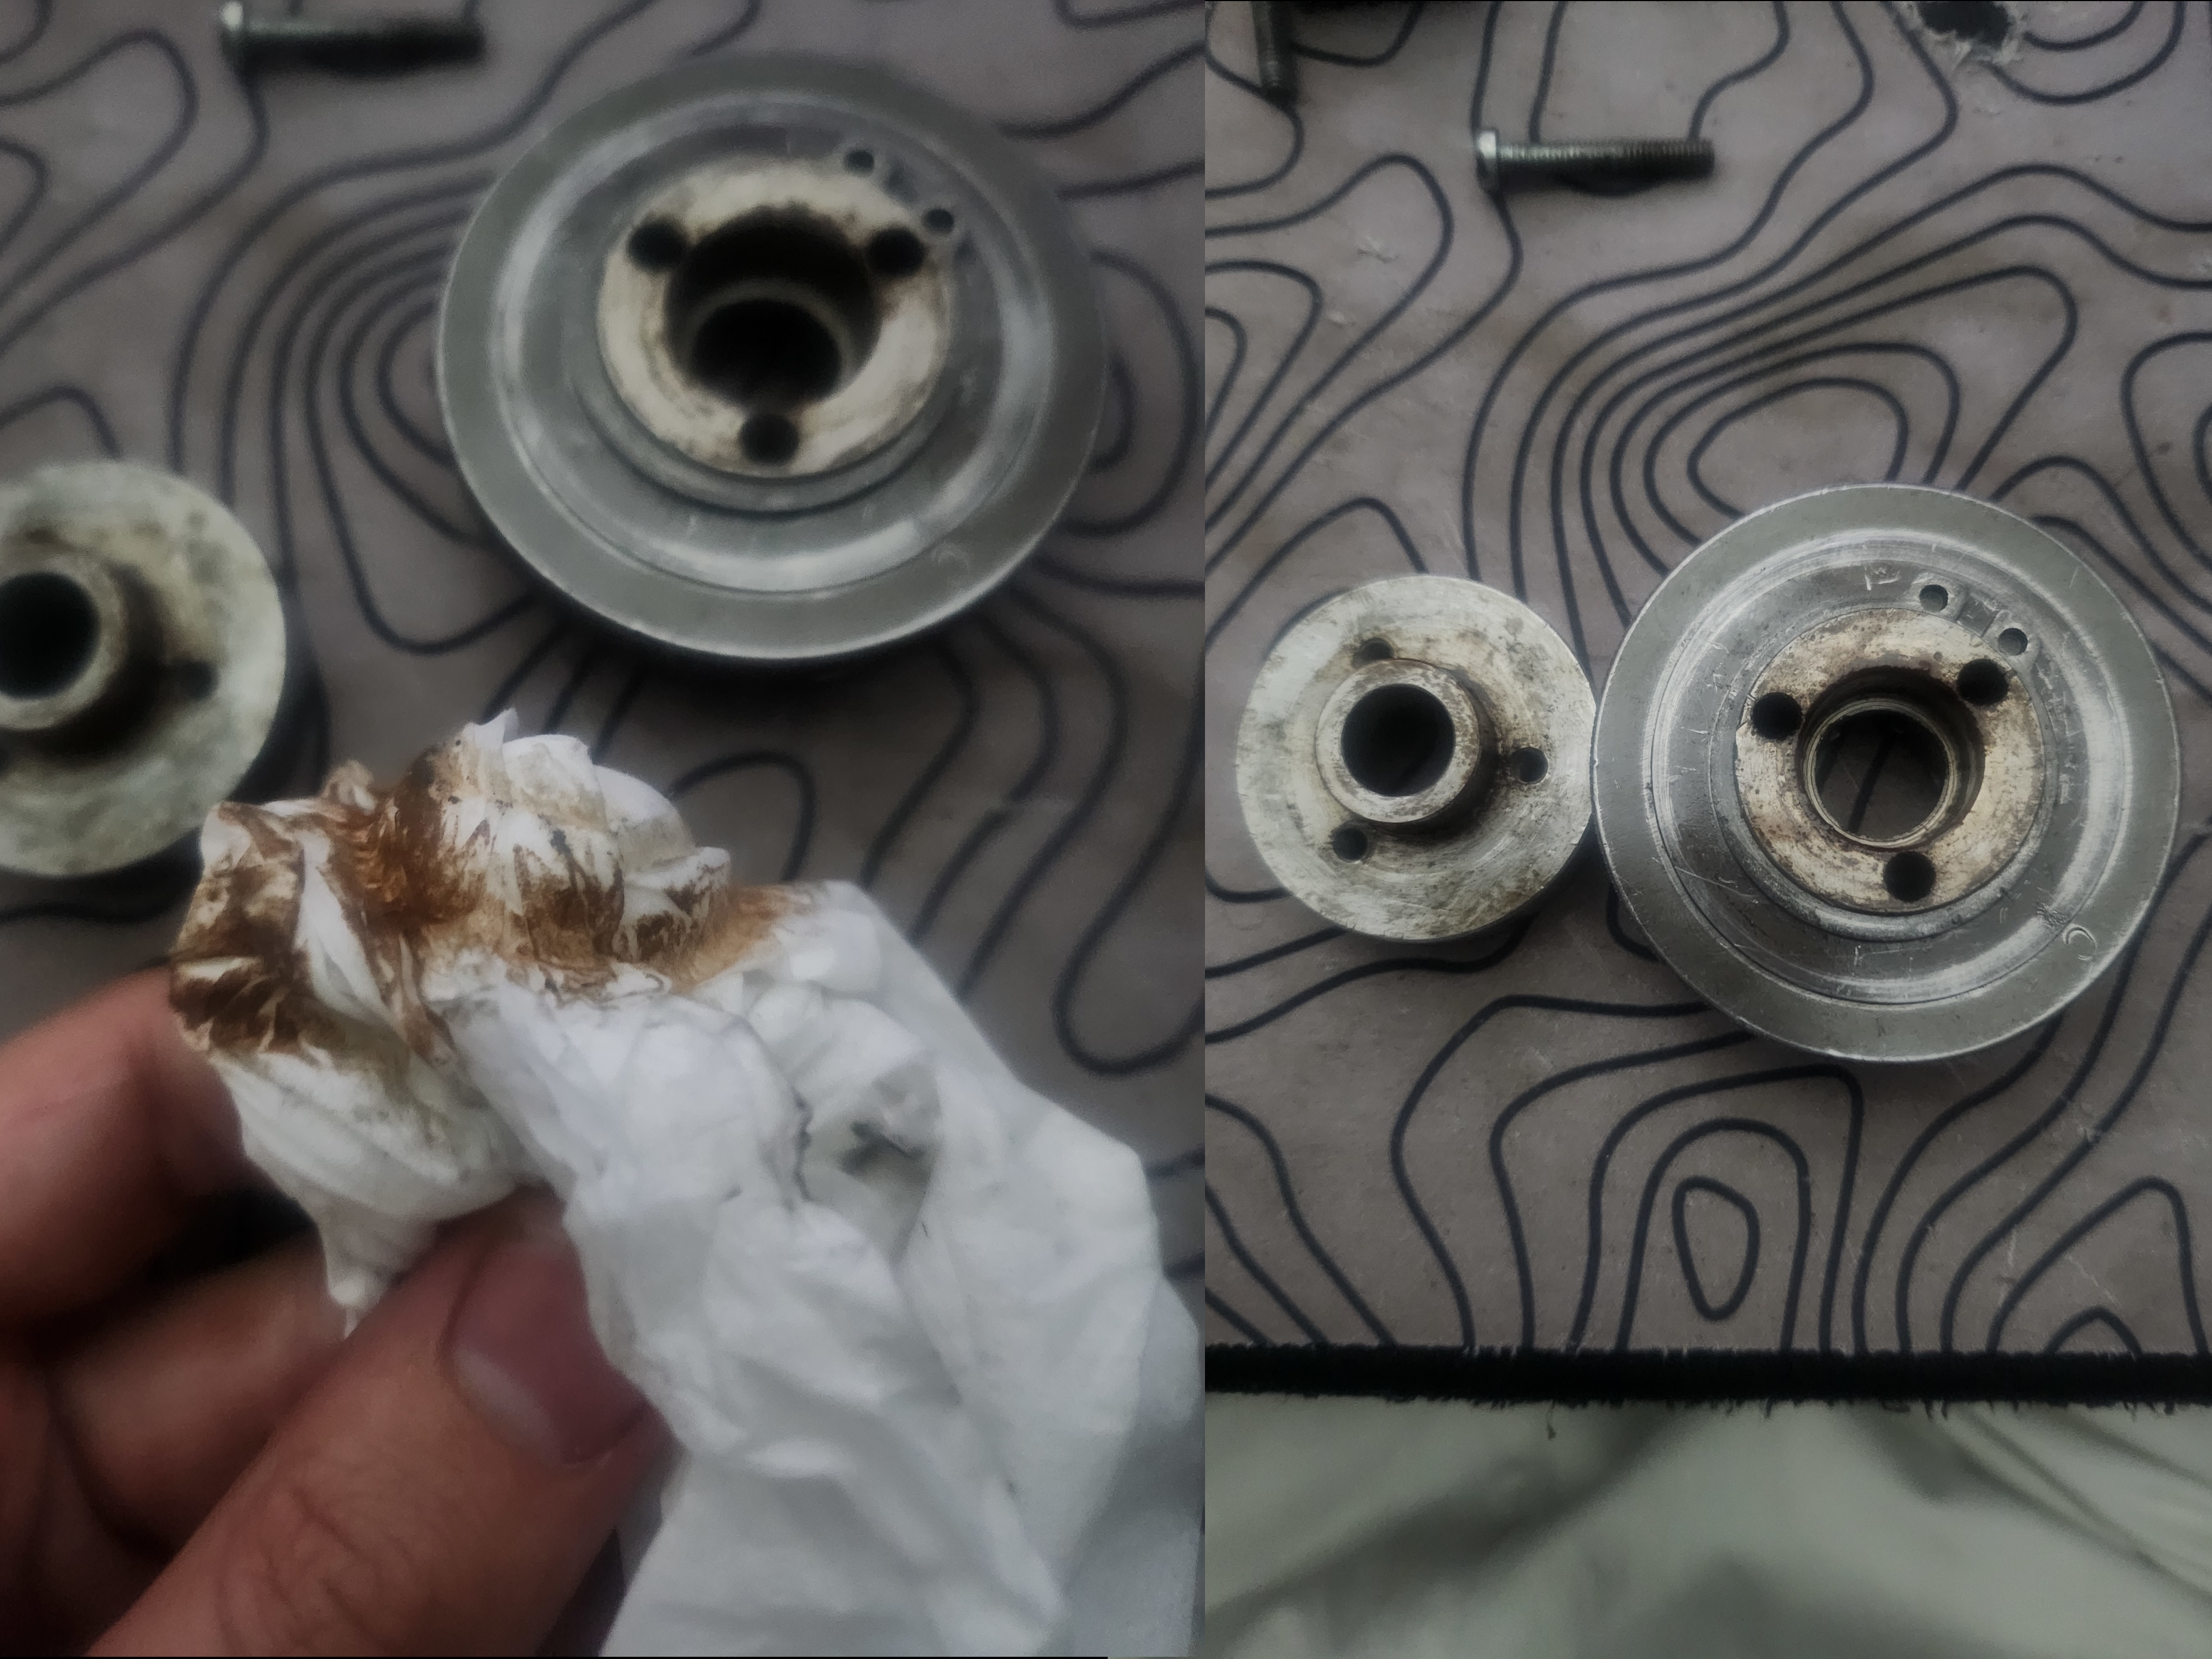 Backplate Removed — Full of Crud
Once removed, the circlip had to go.
Warning: Don’t use the wrong tool for circlips.
Get a proper circlip (snap-ring) pliers. They’re one of those tools you rarely need, but when you do, nothing else works.
Pro Tip: For a one-off job, buy the cheapest tool you can find. If you end up using it often, then upgrade to a better one.
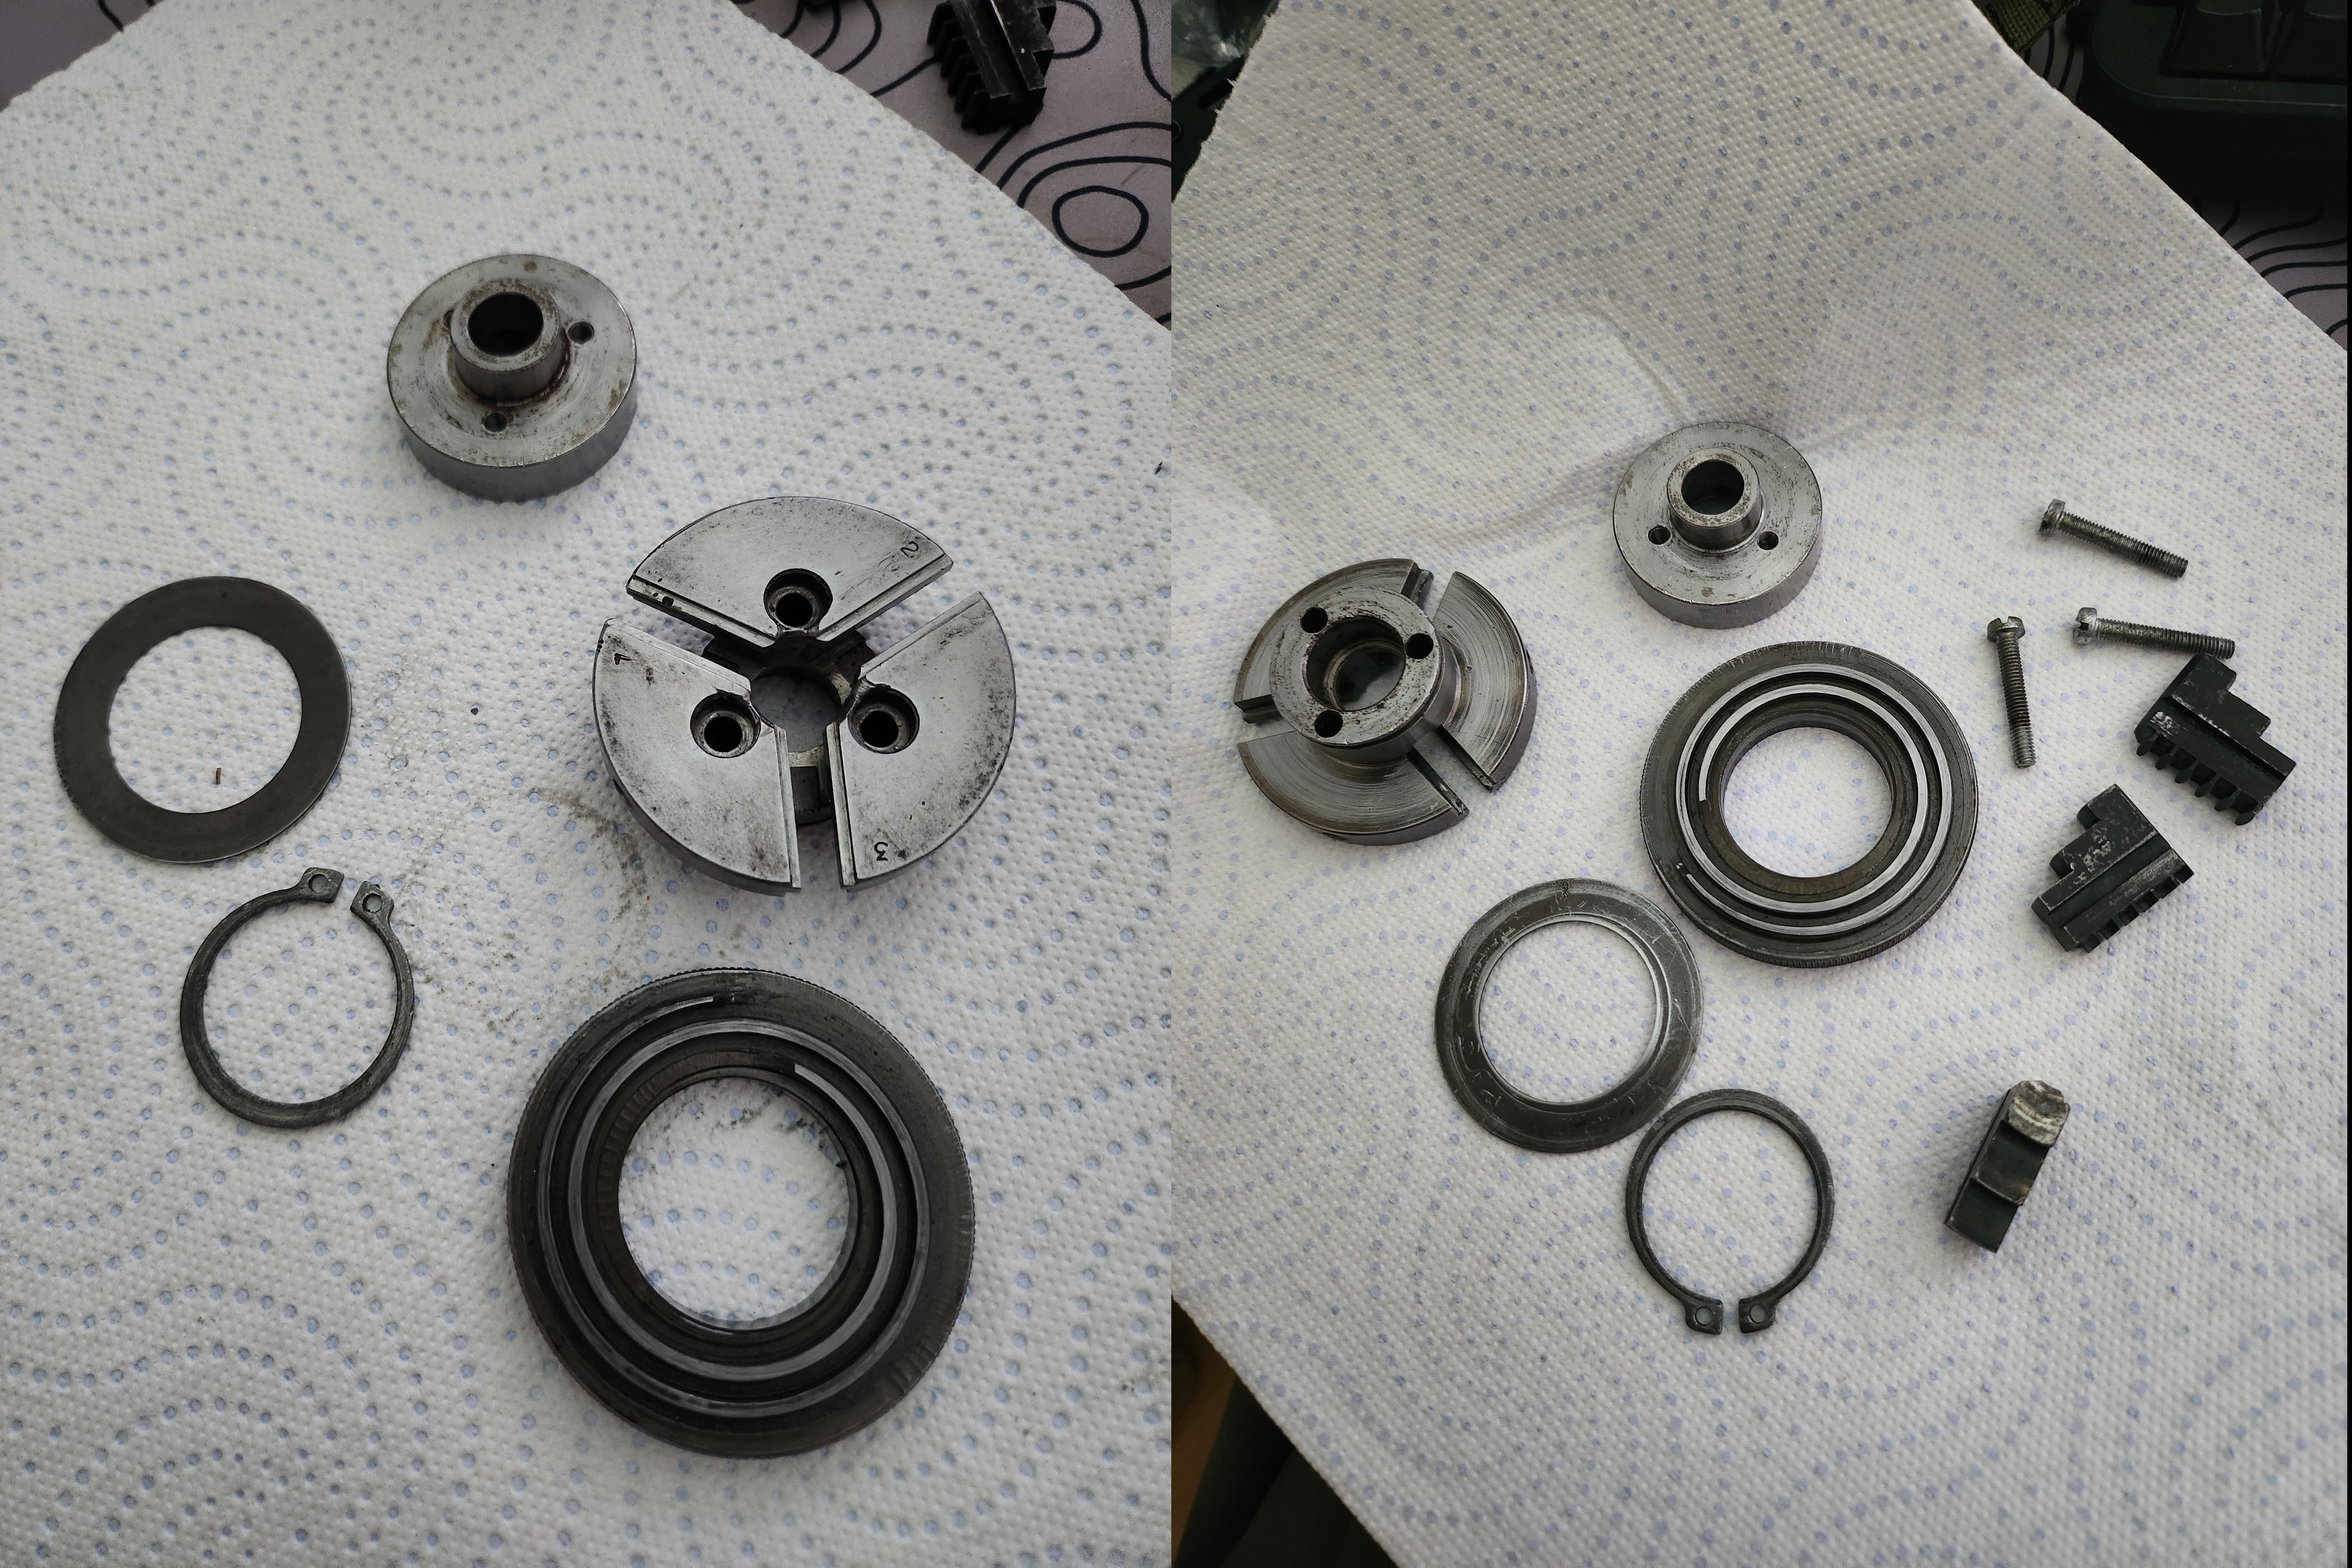 3-Jaw Chuck Dissassembled & Cleaned
Here is the lathe cleaned and reassembled:
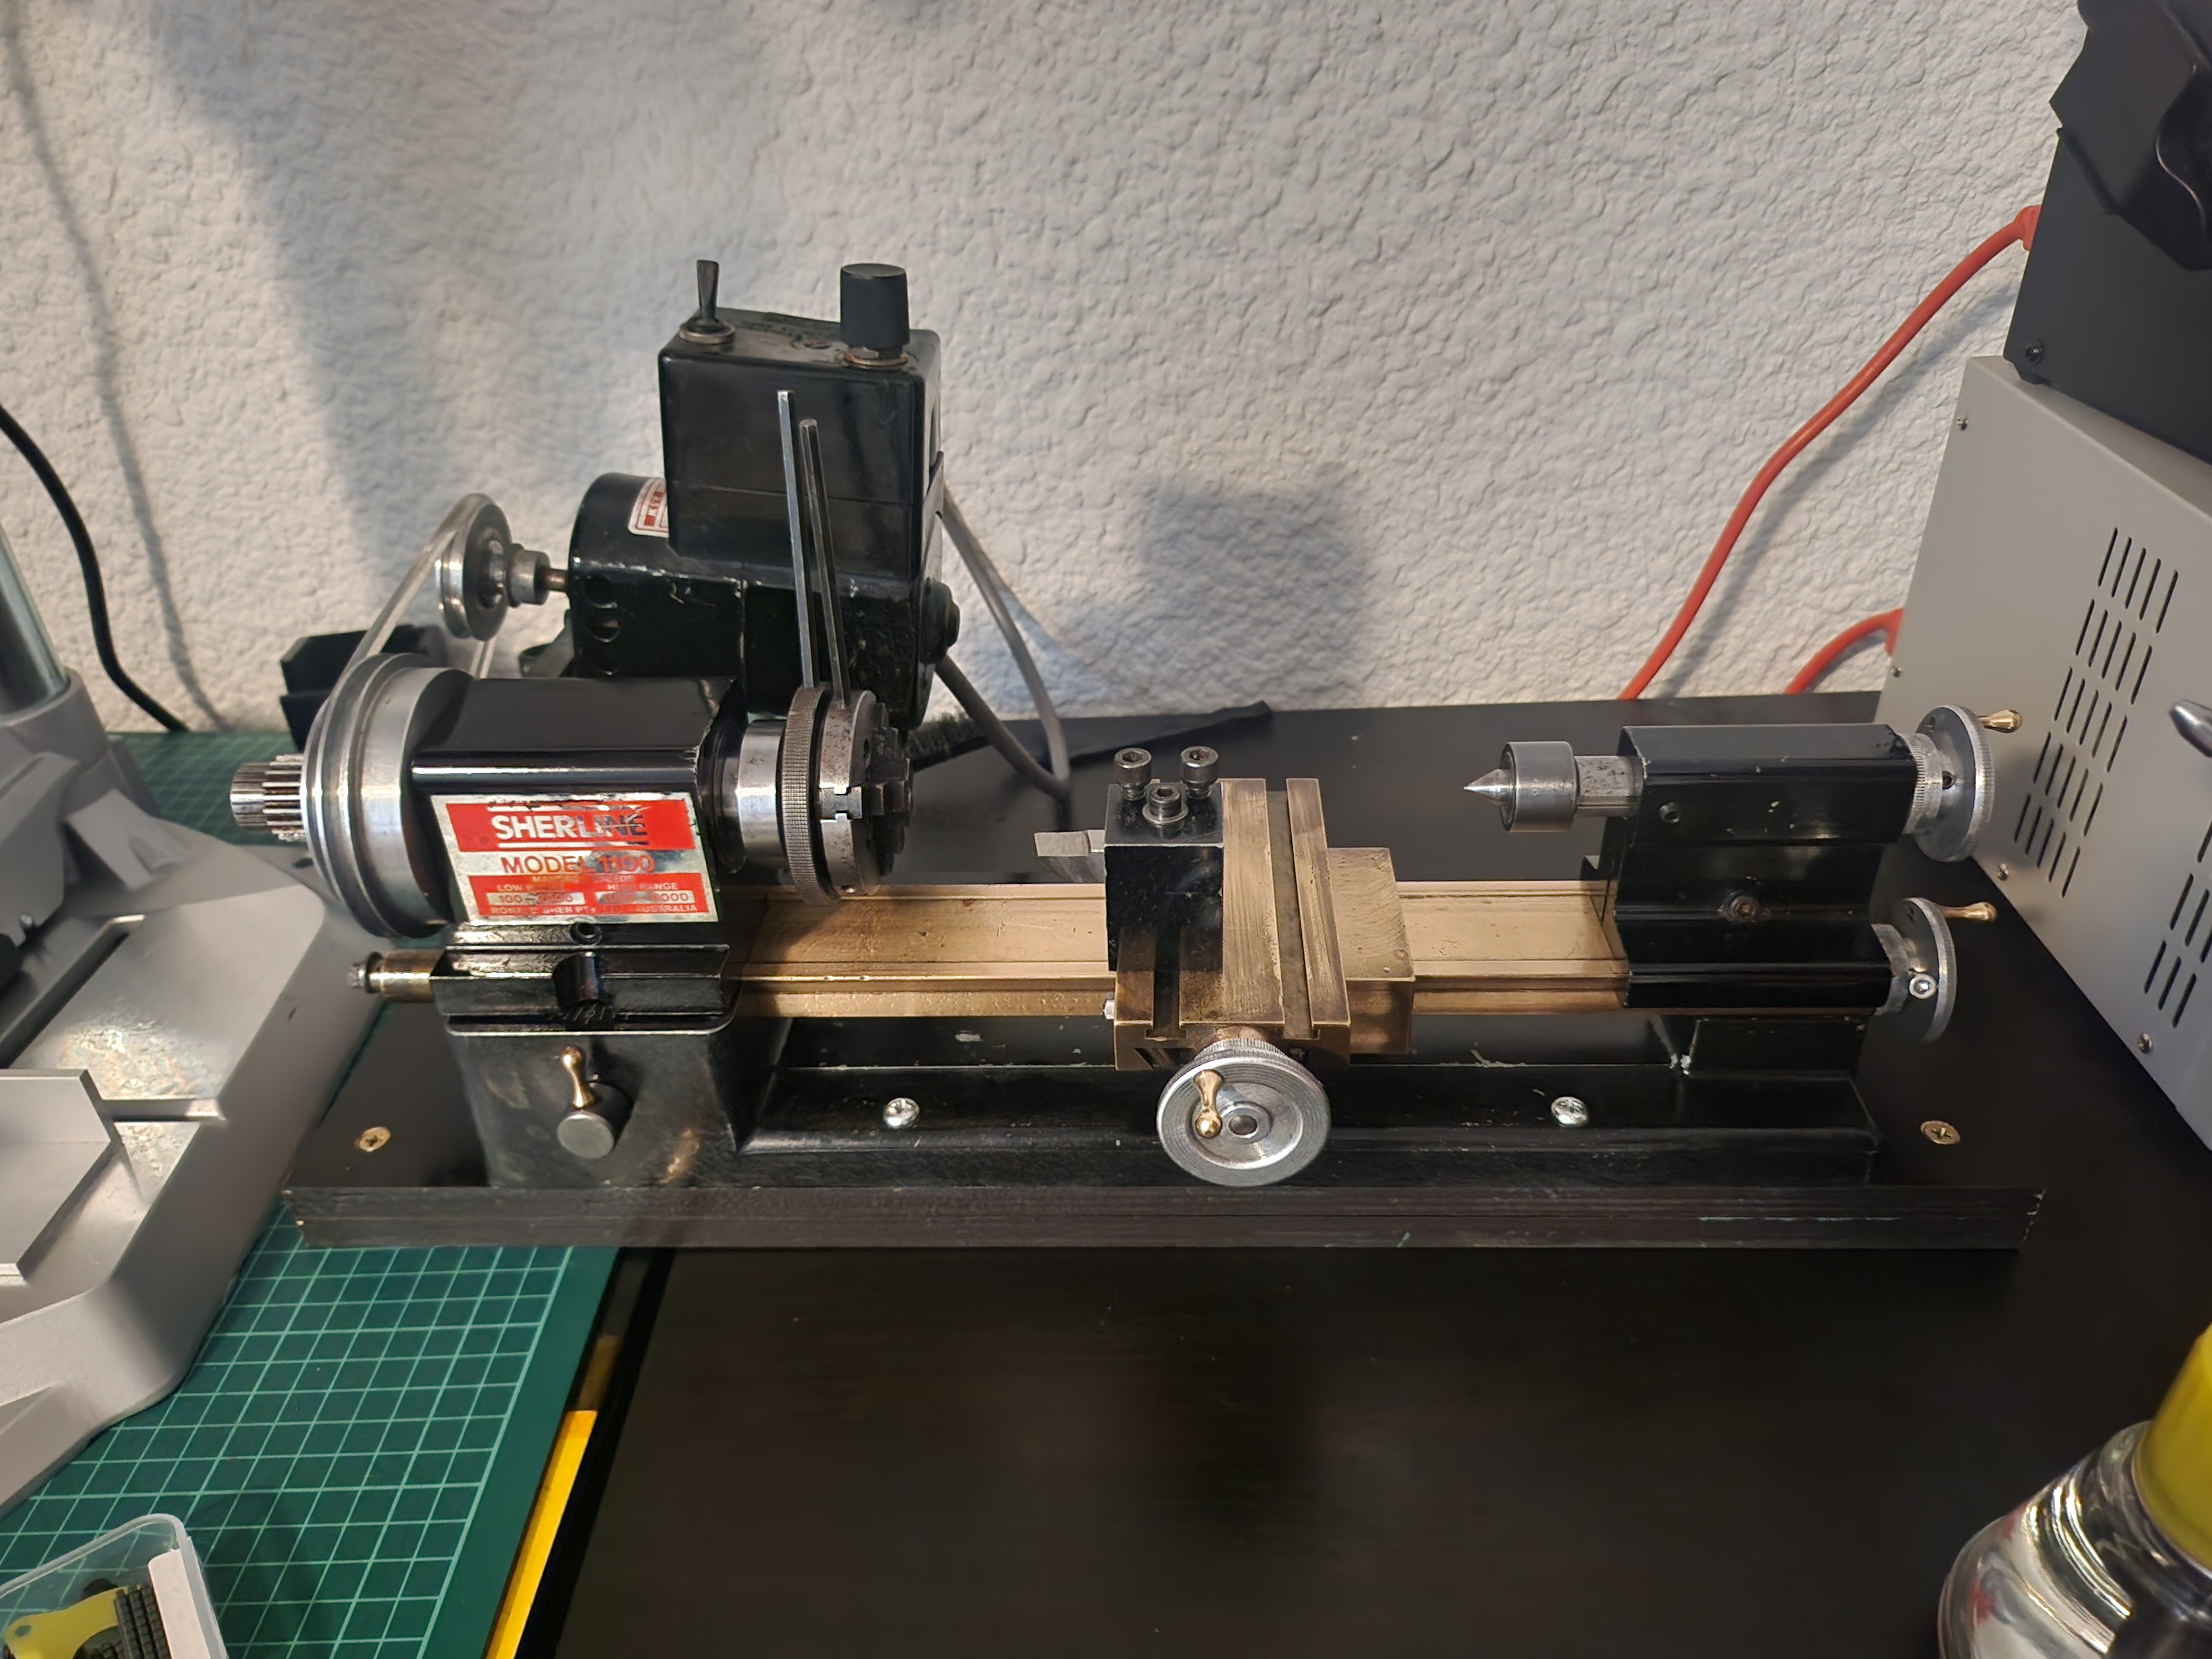 Lathe Oiled & Cleaned
Repair 🔩
A separate blog post will cover the full repair process, but here’s what I’ve done so far.
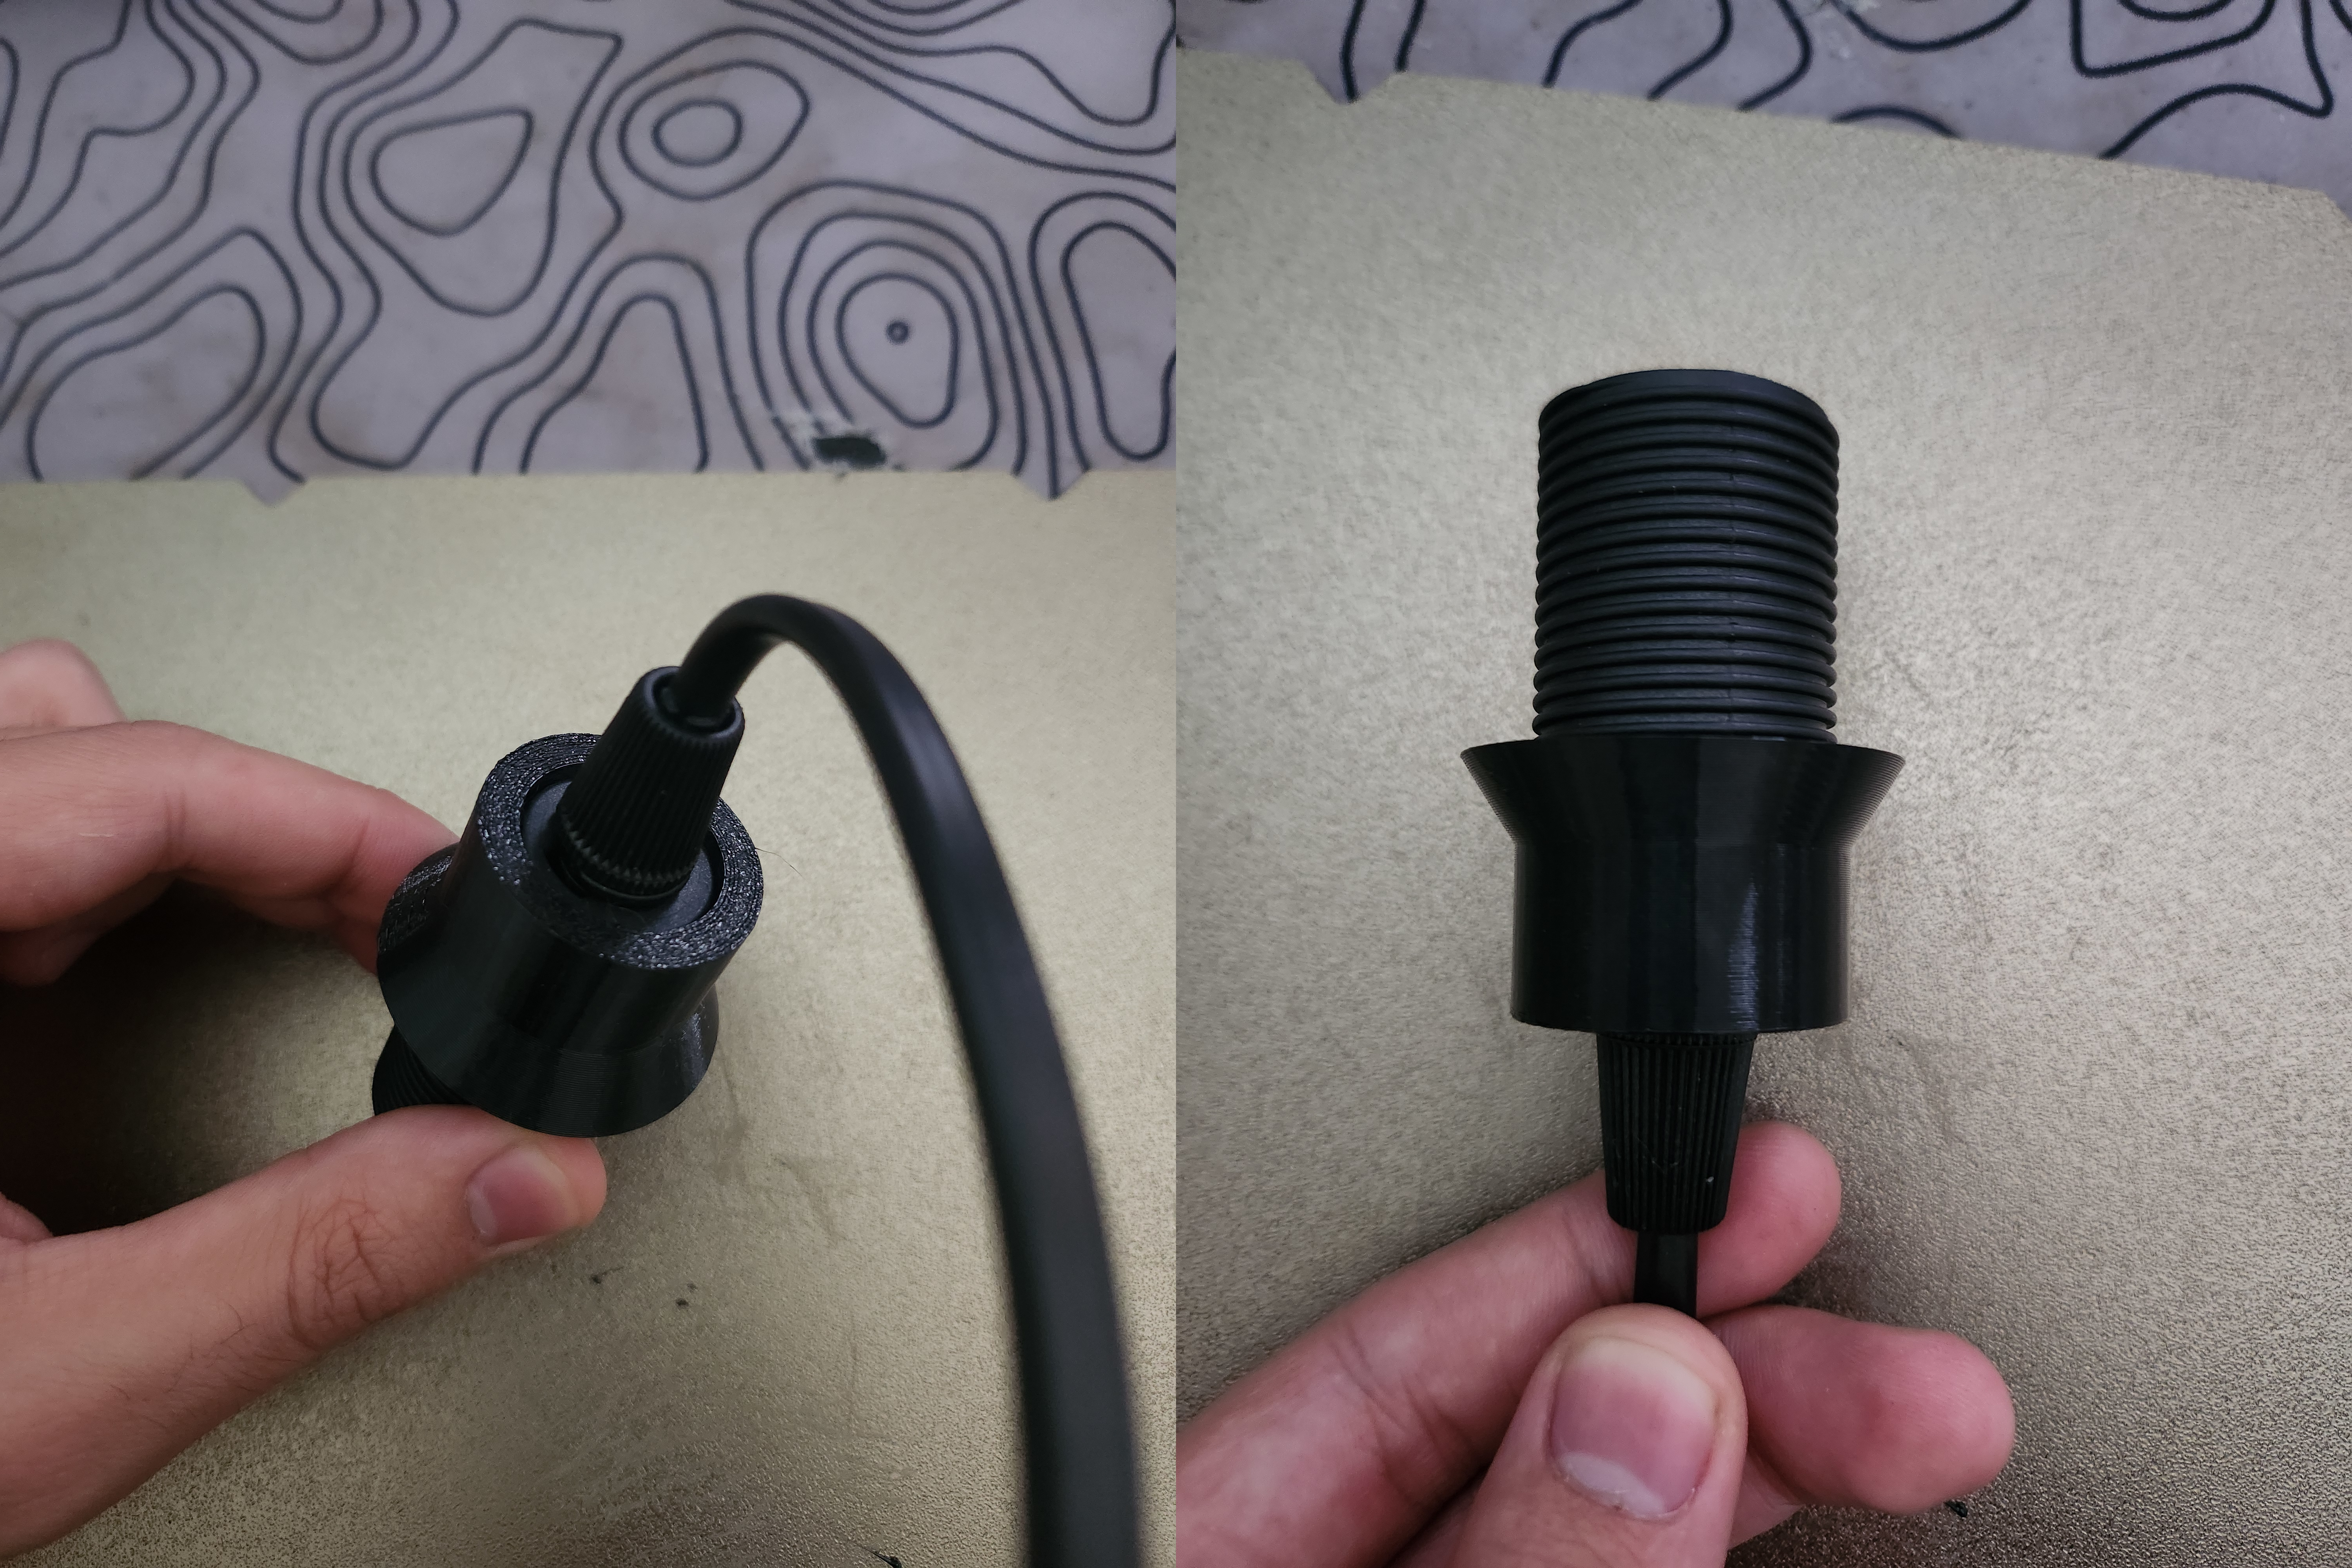
The lathe came with a lamp. The bulb had exploded during shipping, the shade was broken, the wiring was sketchy, and the 230 V cable had no switch. I rebuilt the entire lamp from scratch: bought an E14 bulb, a proper cable, and then pulled up CAD for the design.
 Lamp Arm
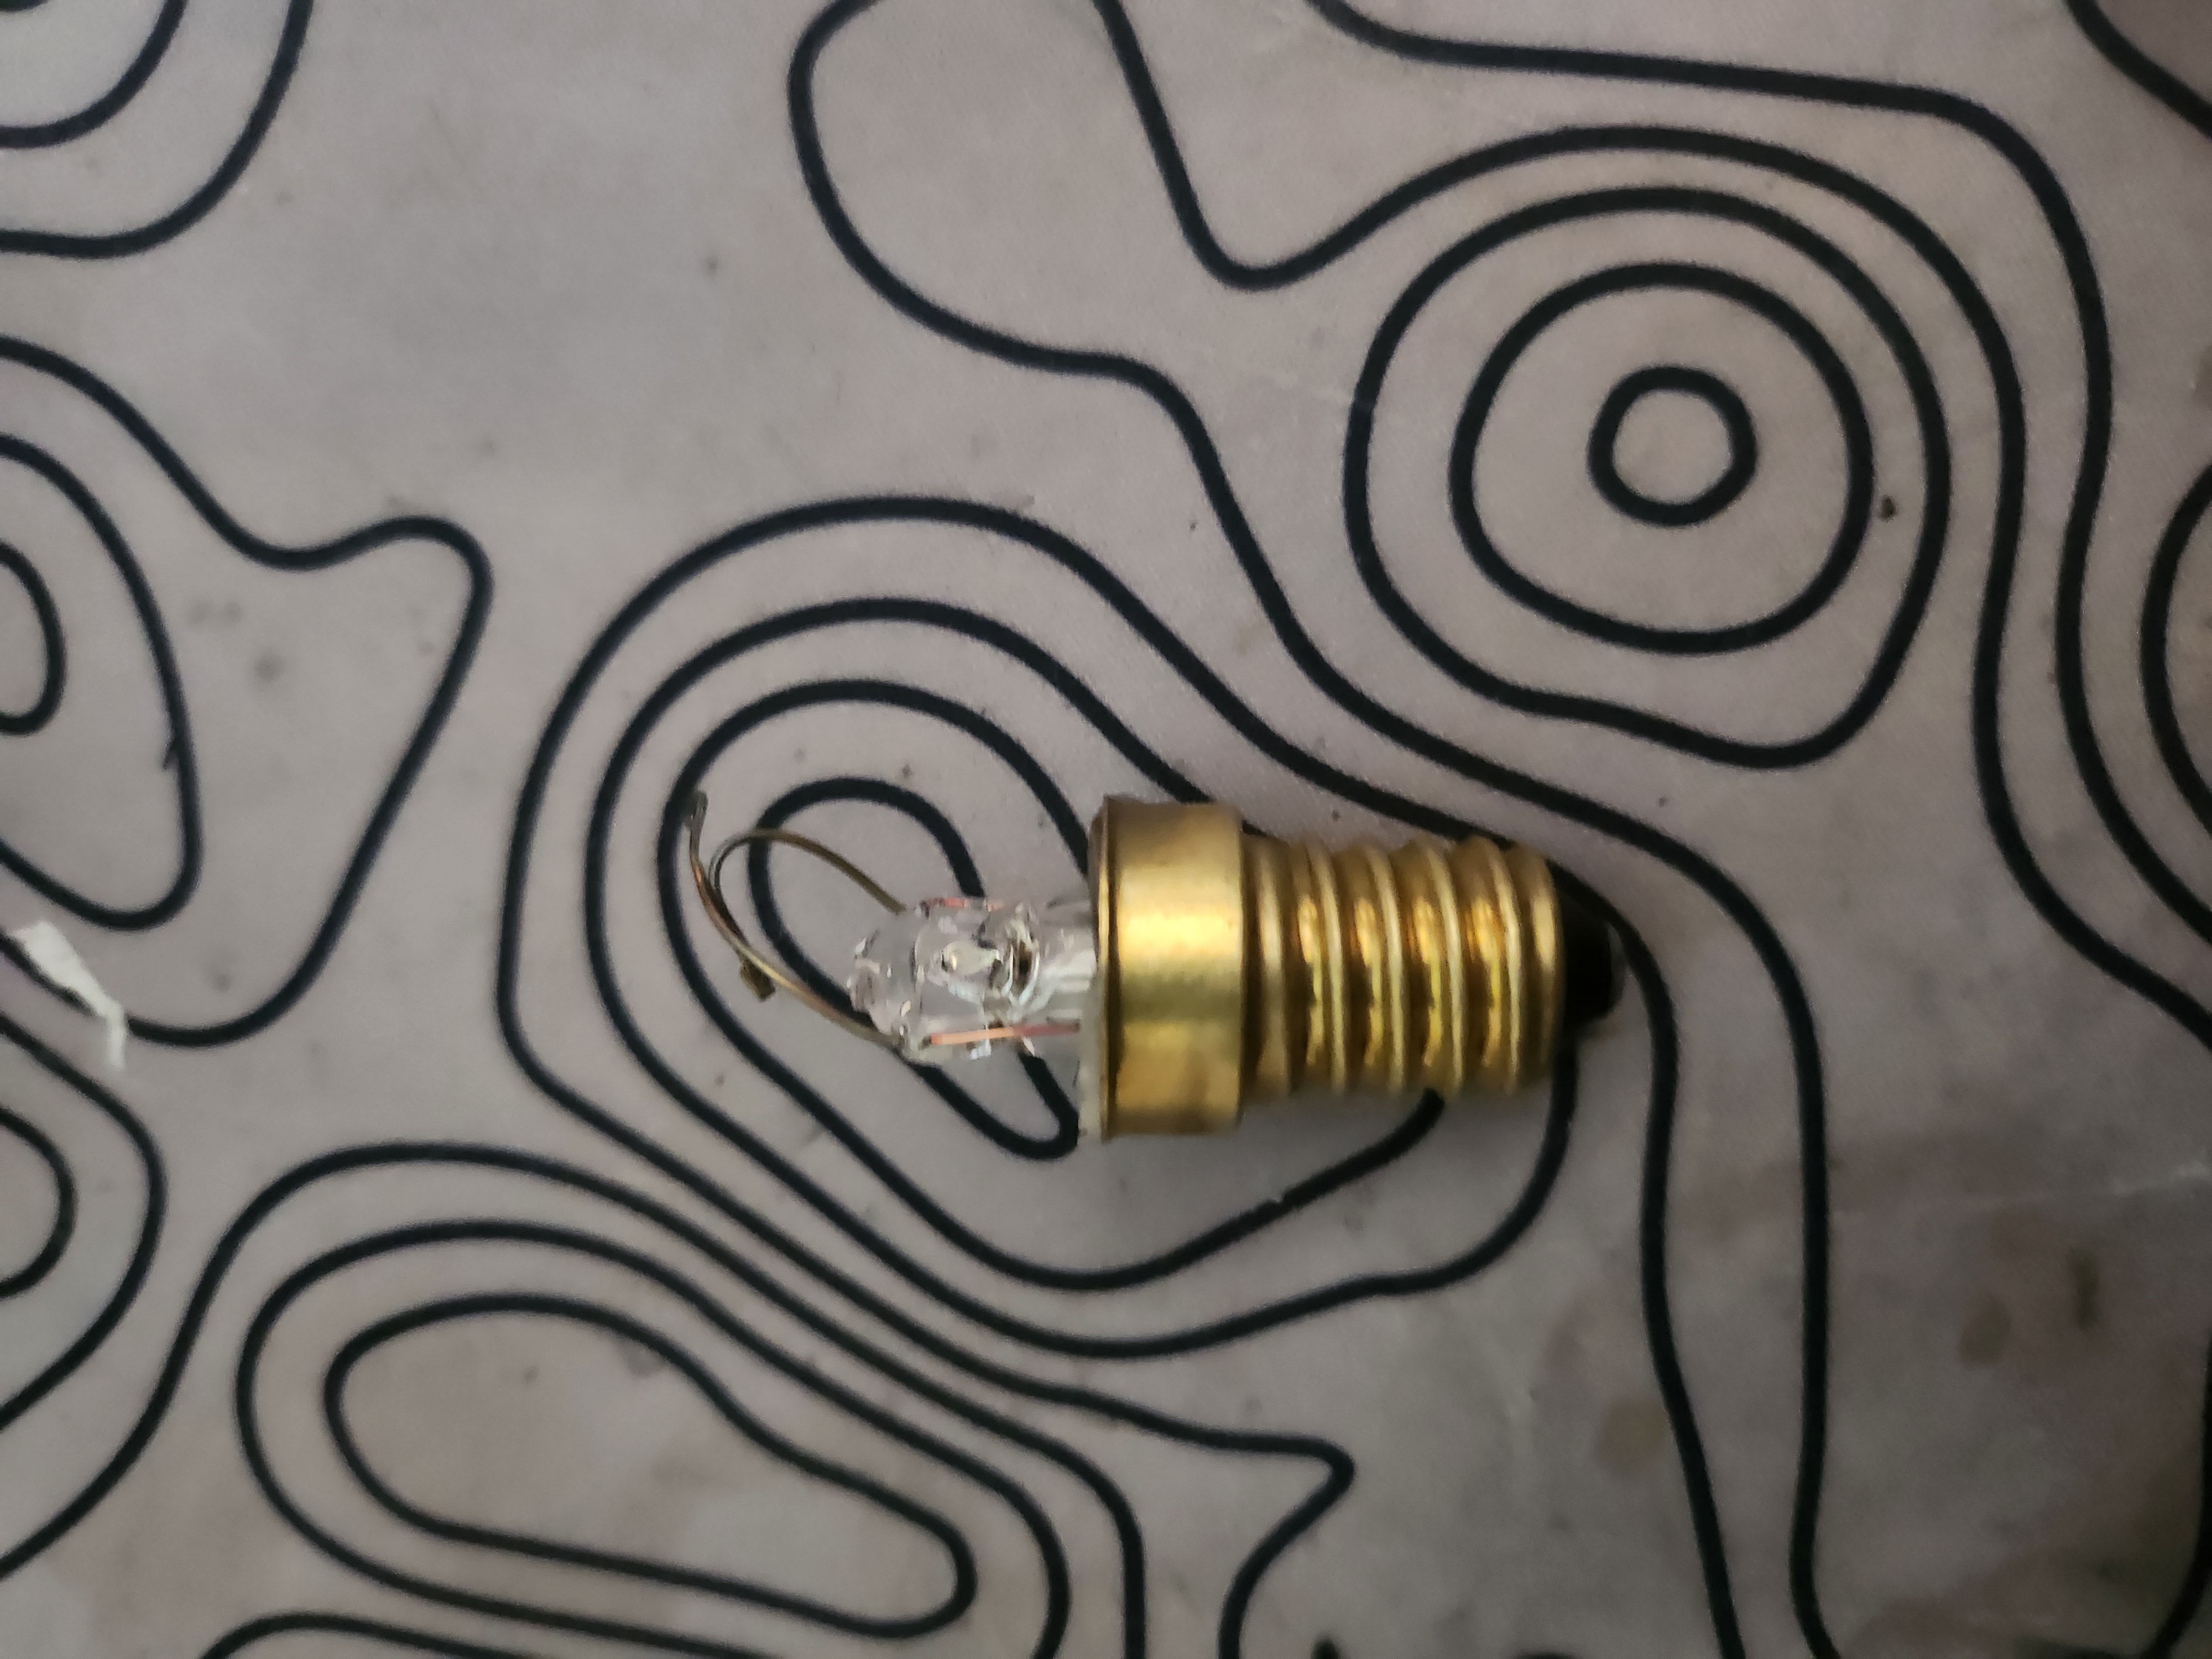 Light Bulb after Shipment
No paper sketch this time 😭 (my notebook is full — need a new insert). The design was straightforward.
Designing & Prototyping 🖥️
Here’s the main sketch, based on a revolve extrusion:
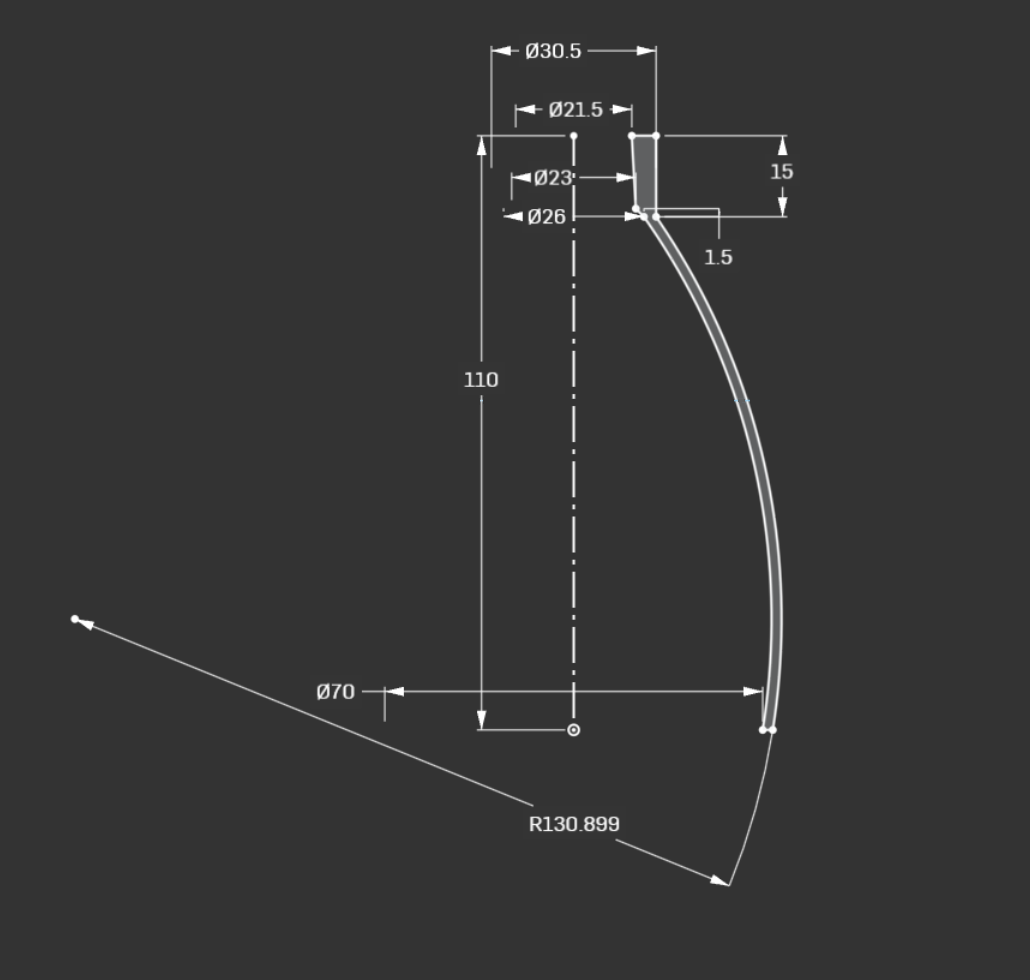 Main Revolve Sketch
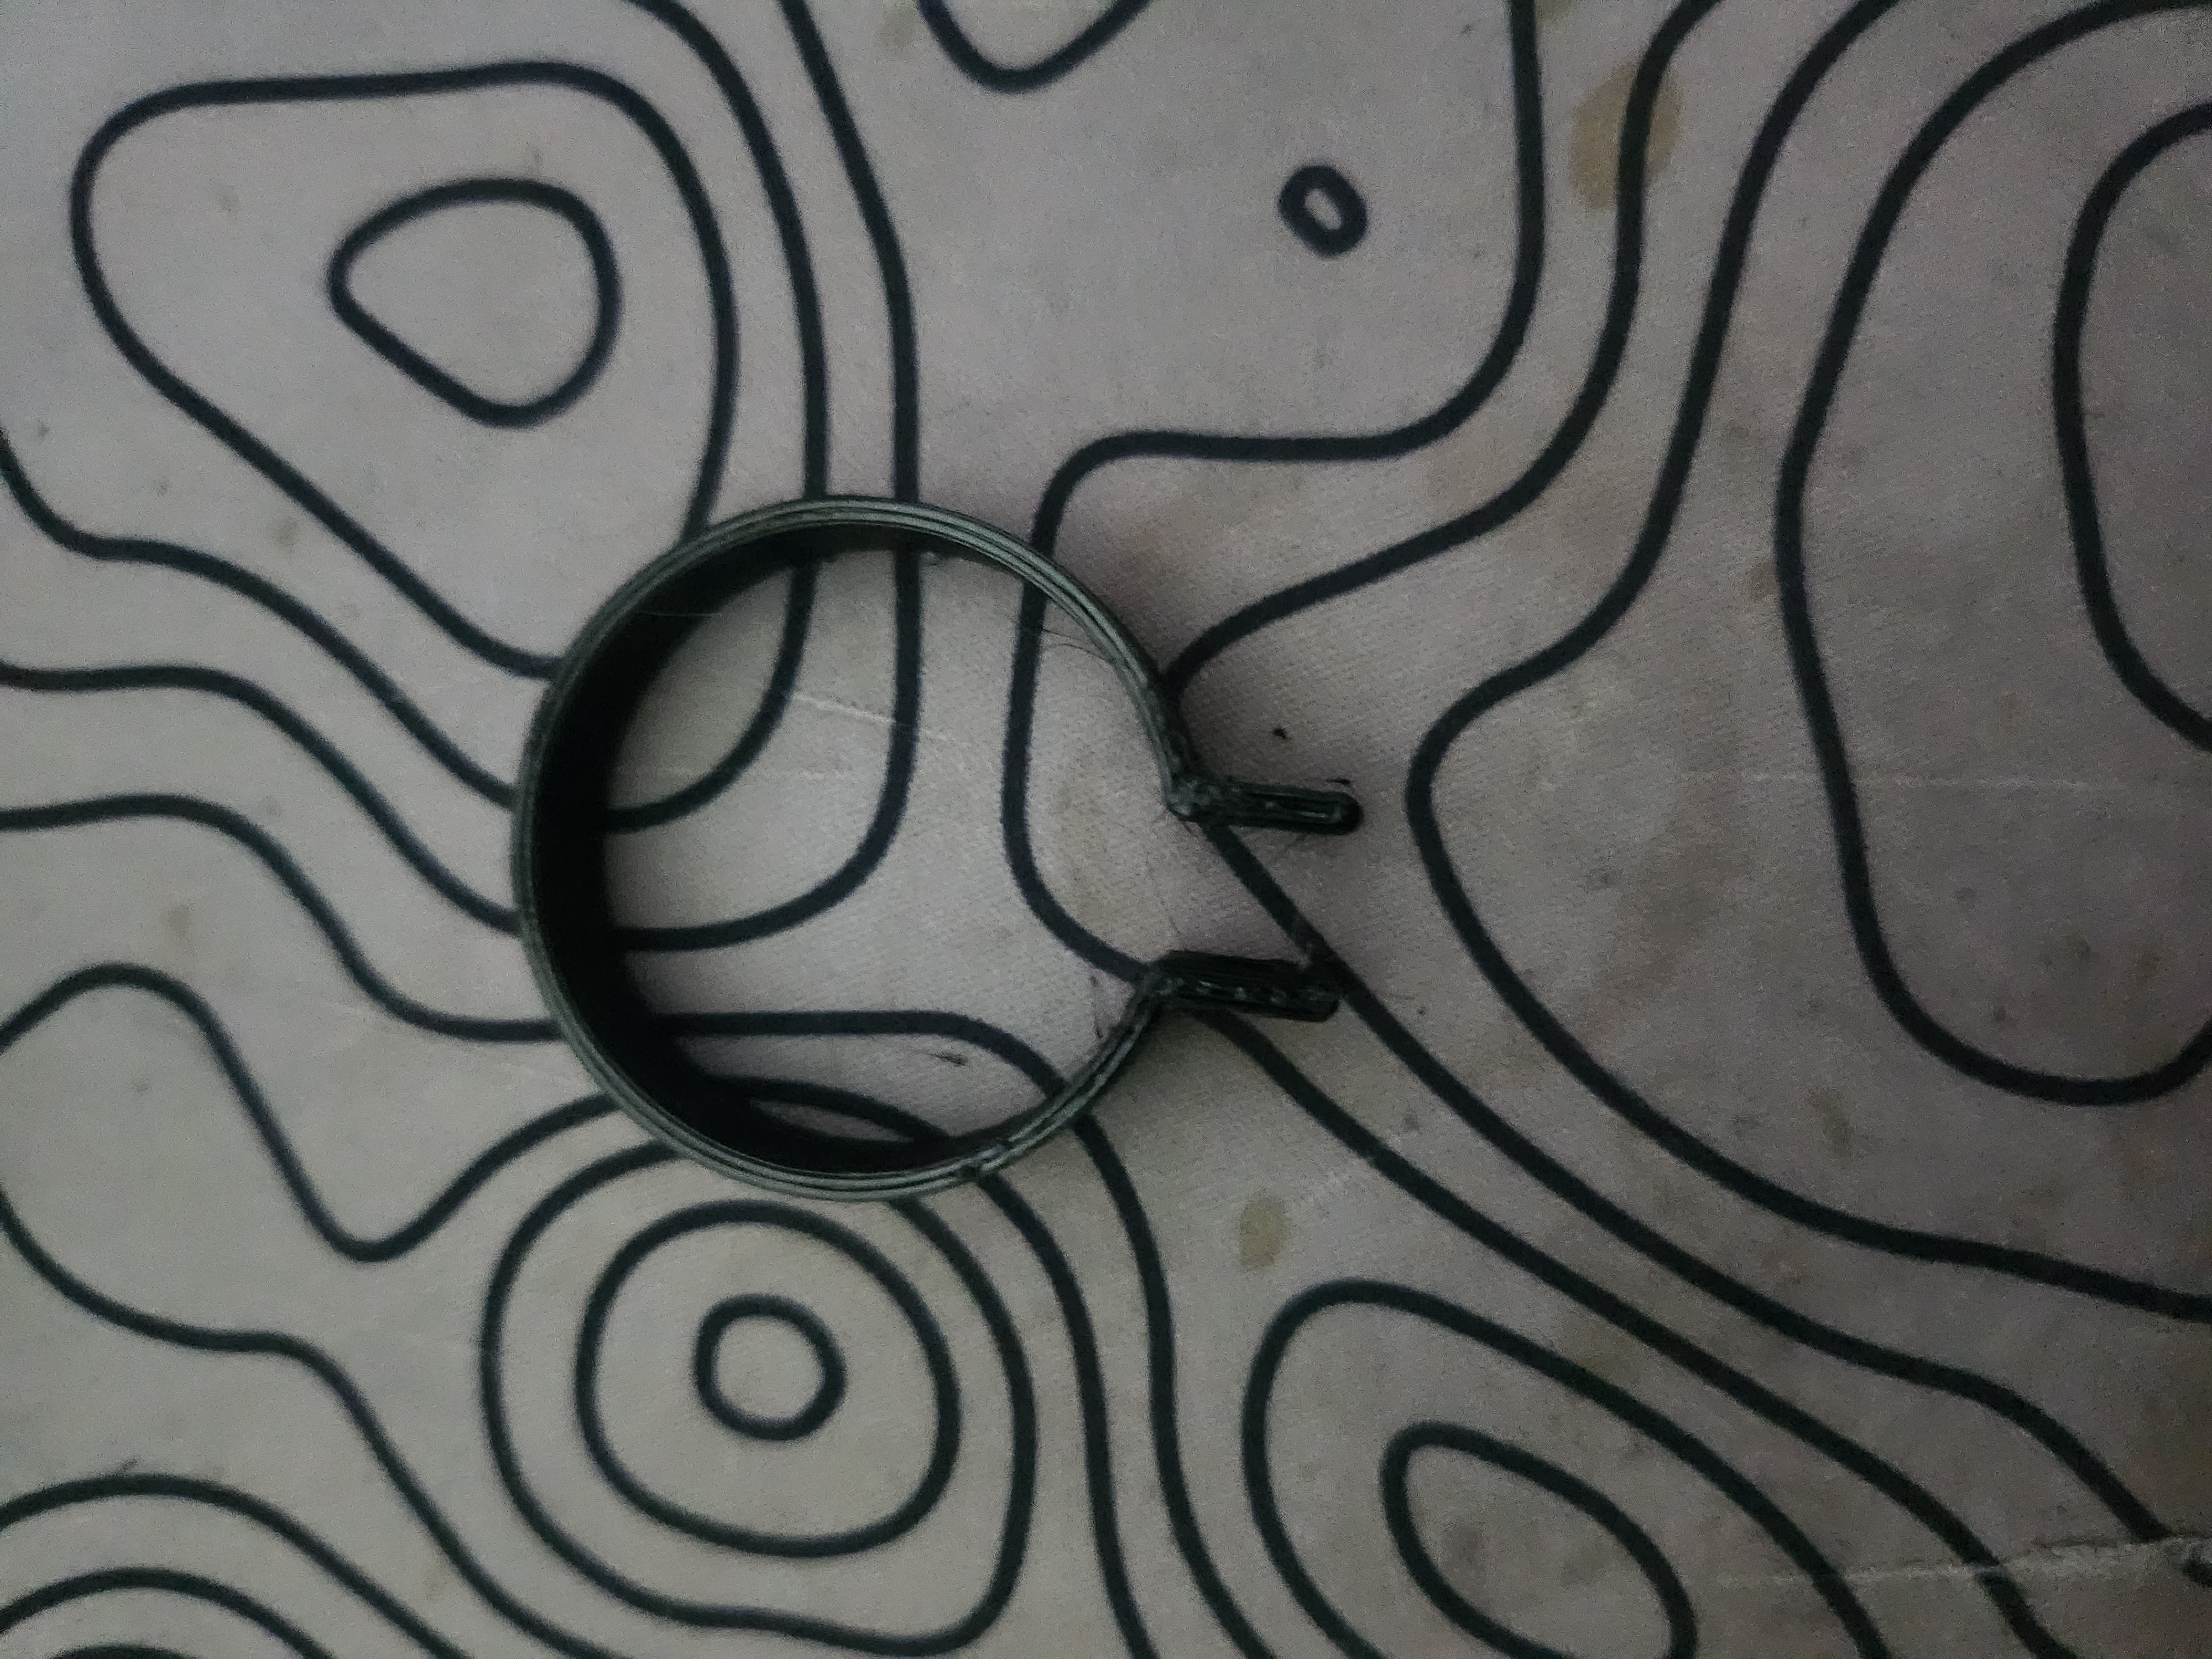 Clamp for Lamp Shade
 Test print of Lamp Shade
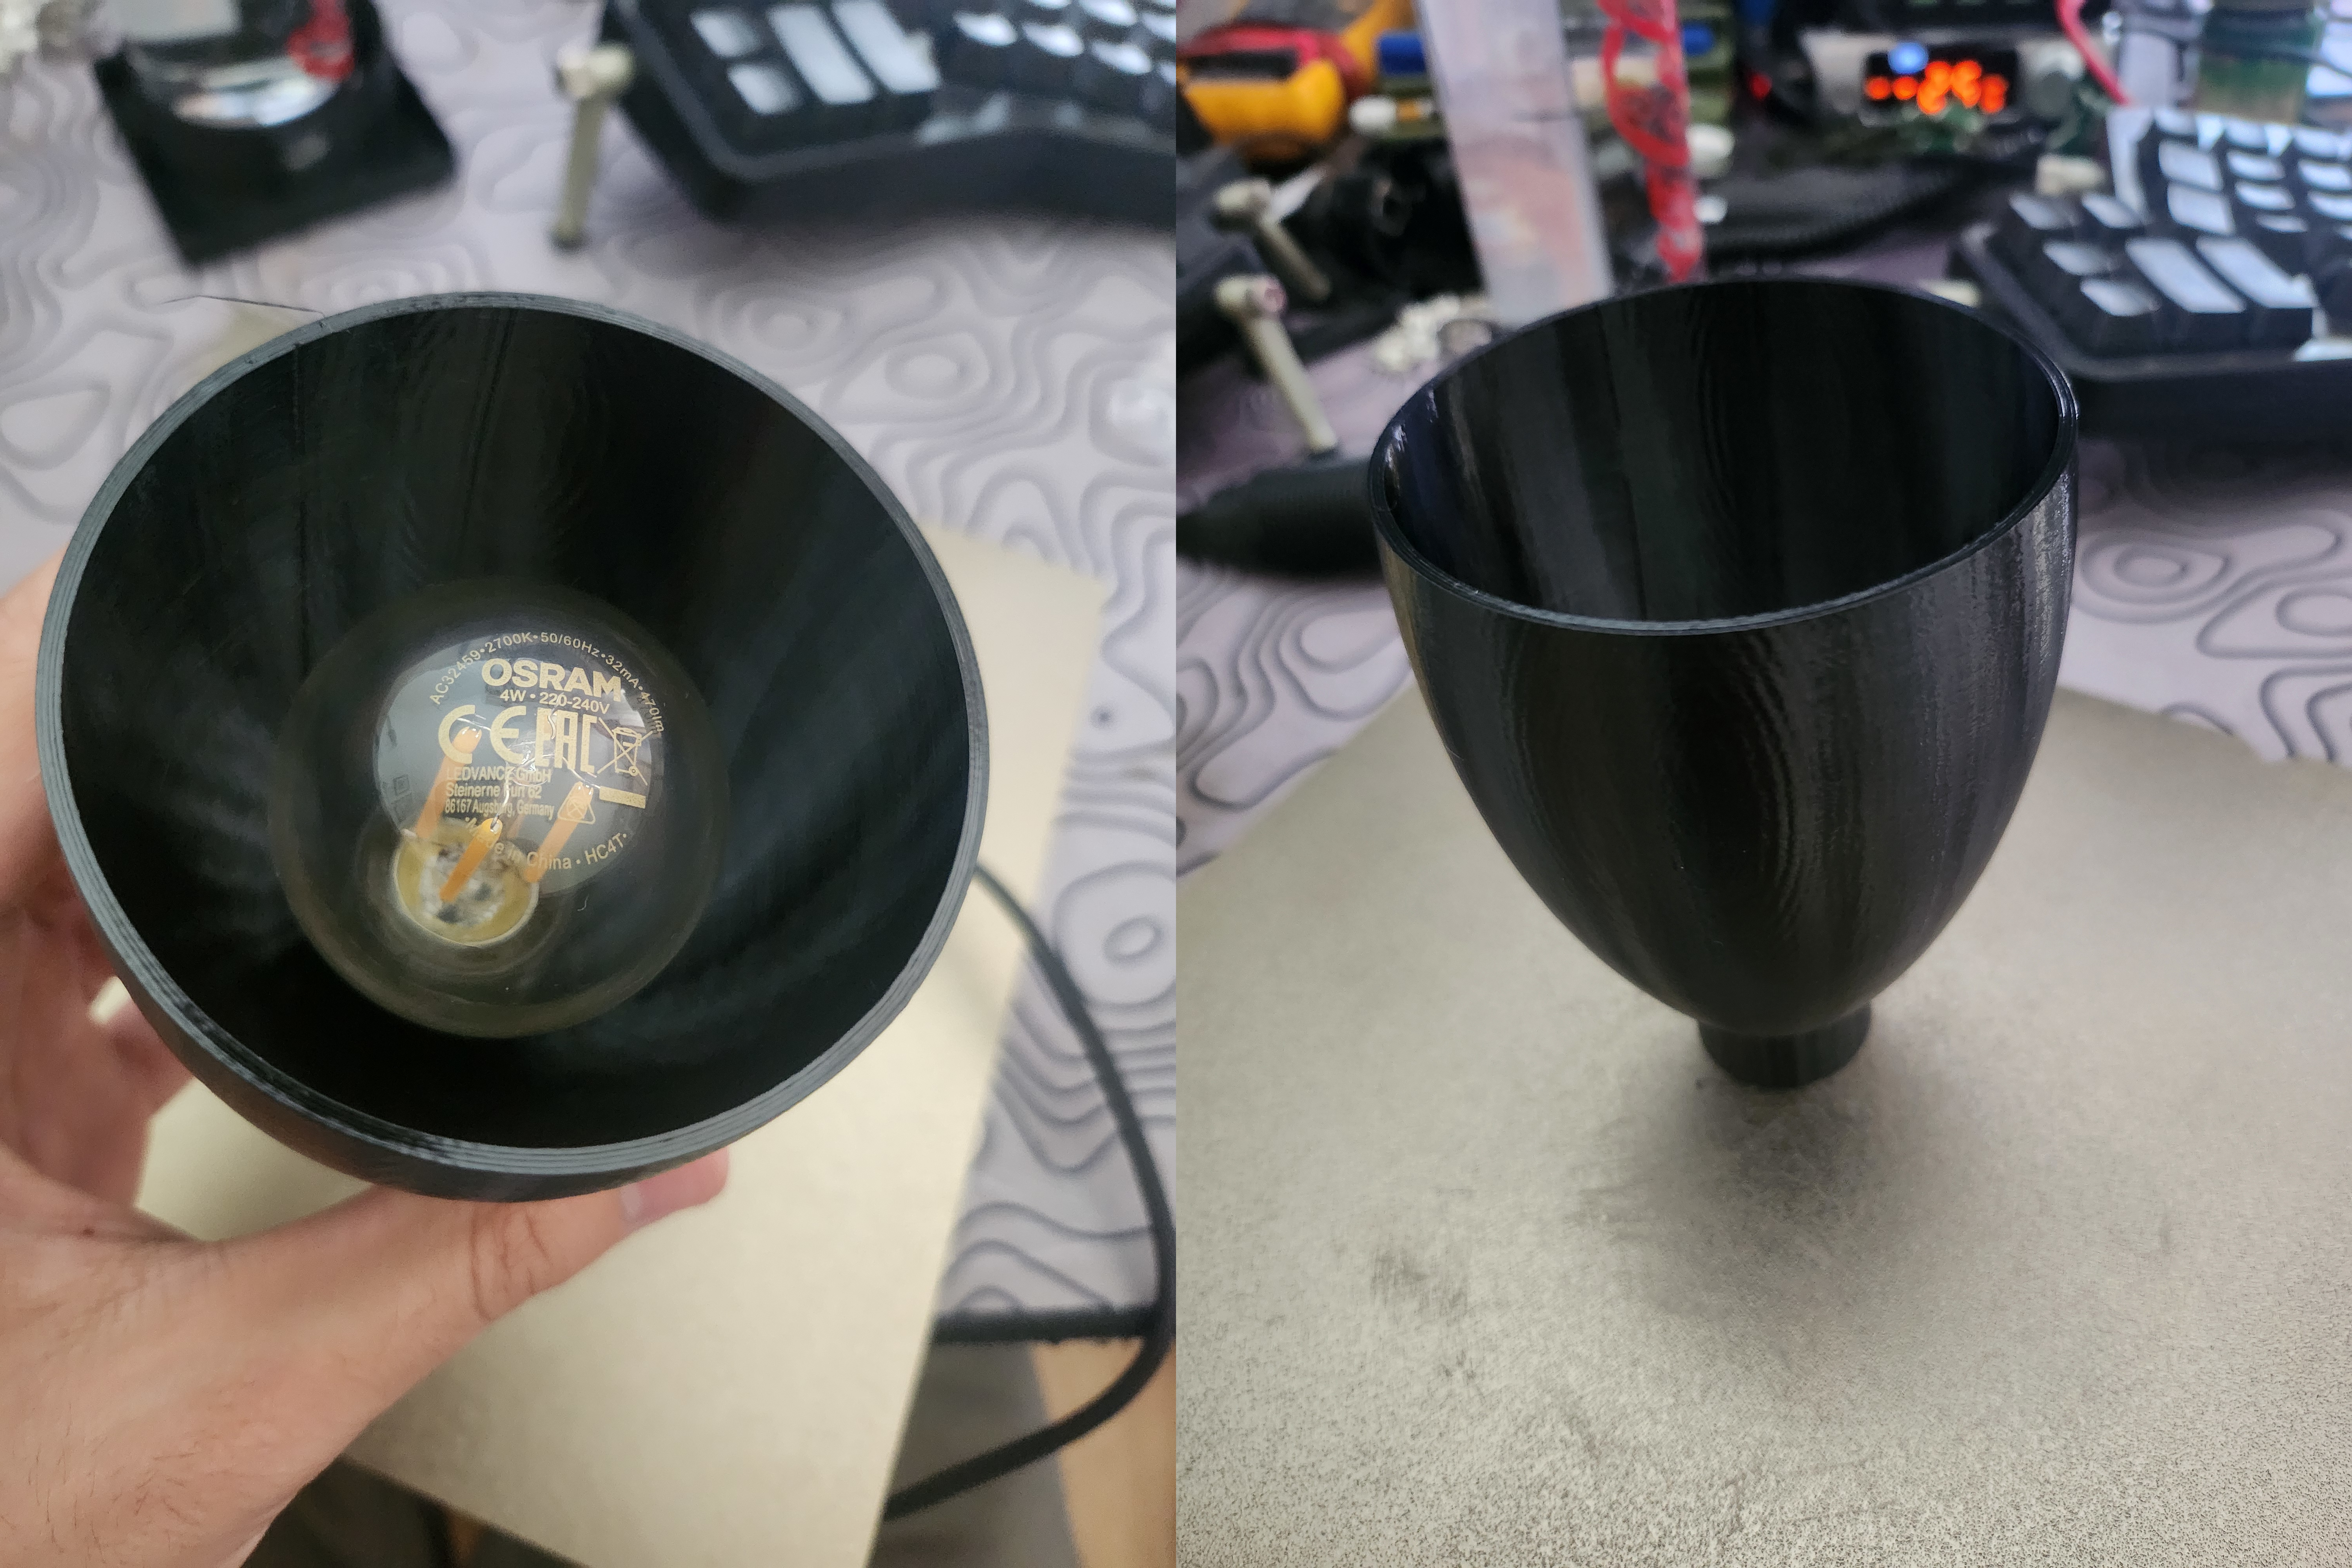 Lamp Shade Printed
Finishing Touches ✨
The lathe came with this board with non-slip pad although the screws didn’t screw into place, so i replace them with one i got in my stock
 Baseplate that came with the Lathe
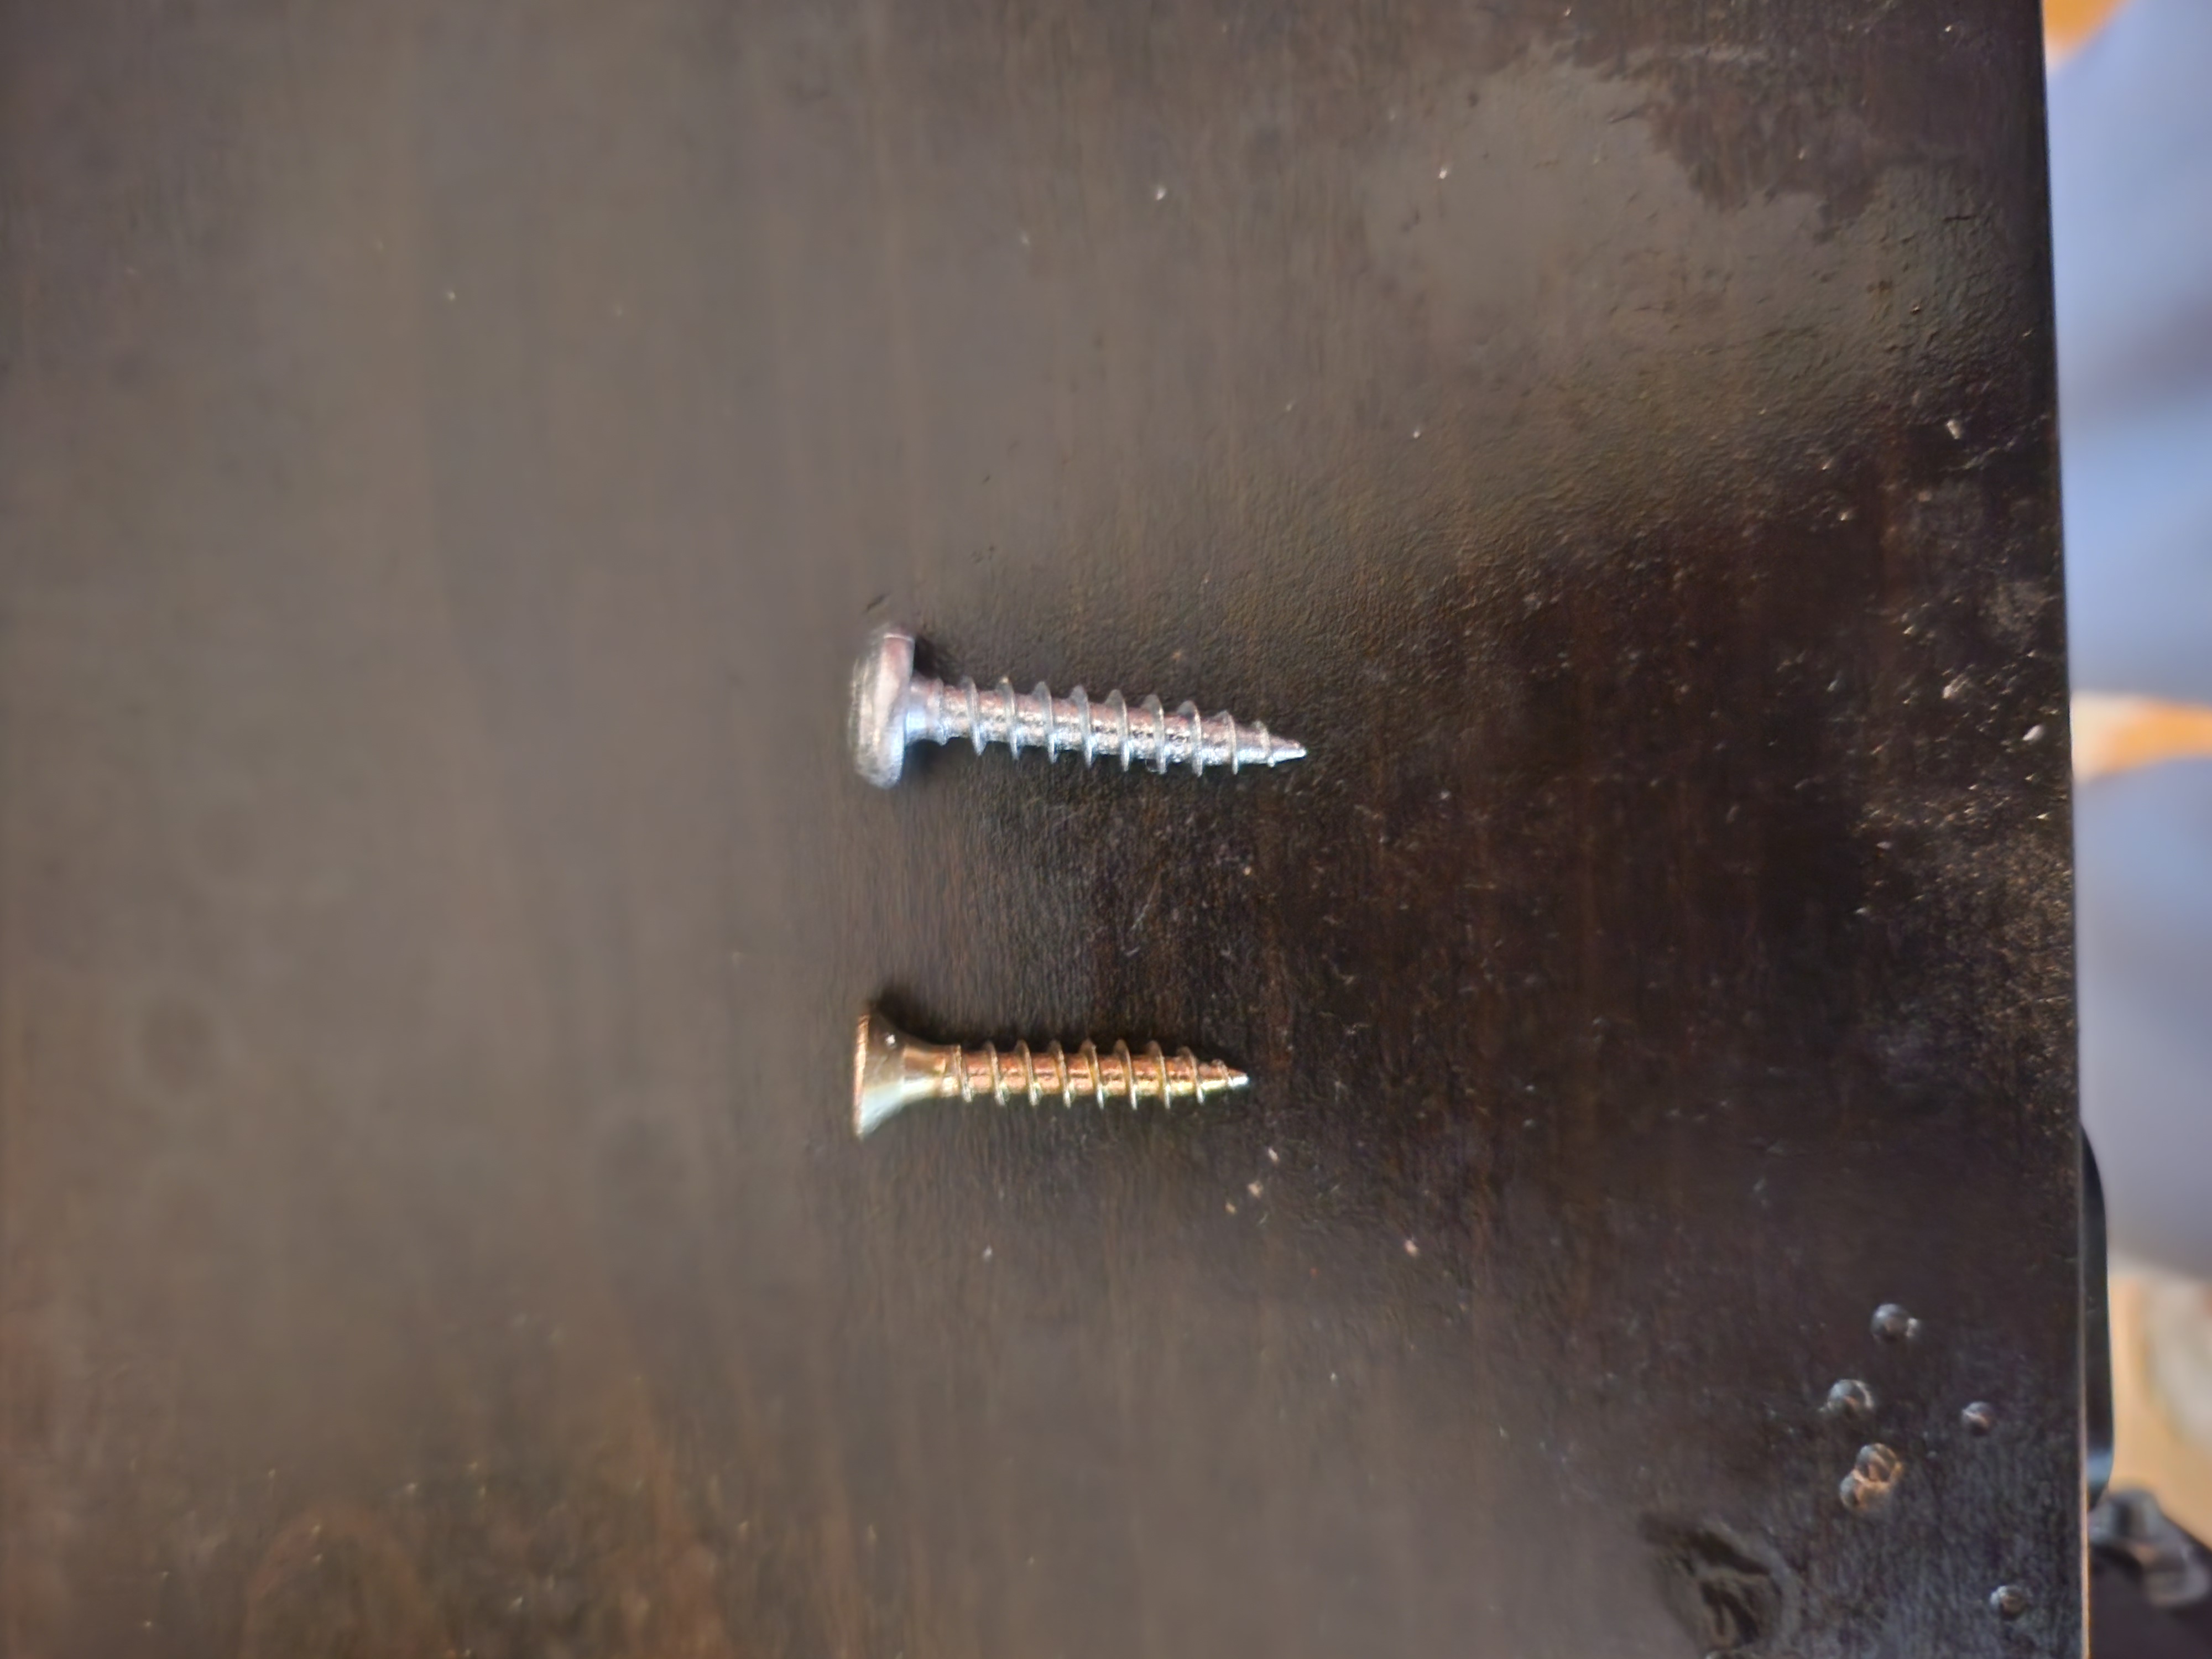 Old Screw vs. New Screw
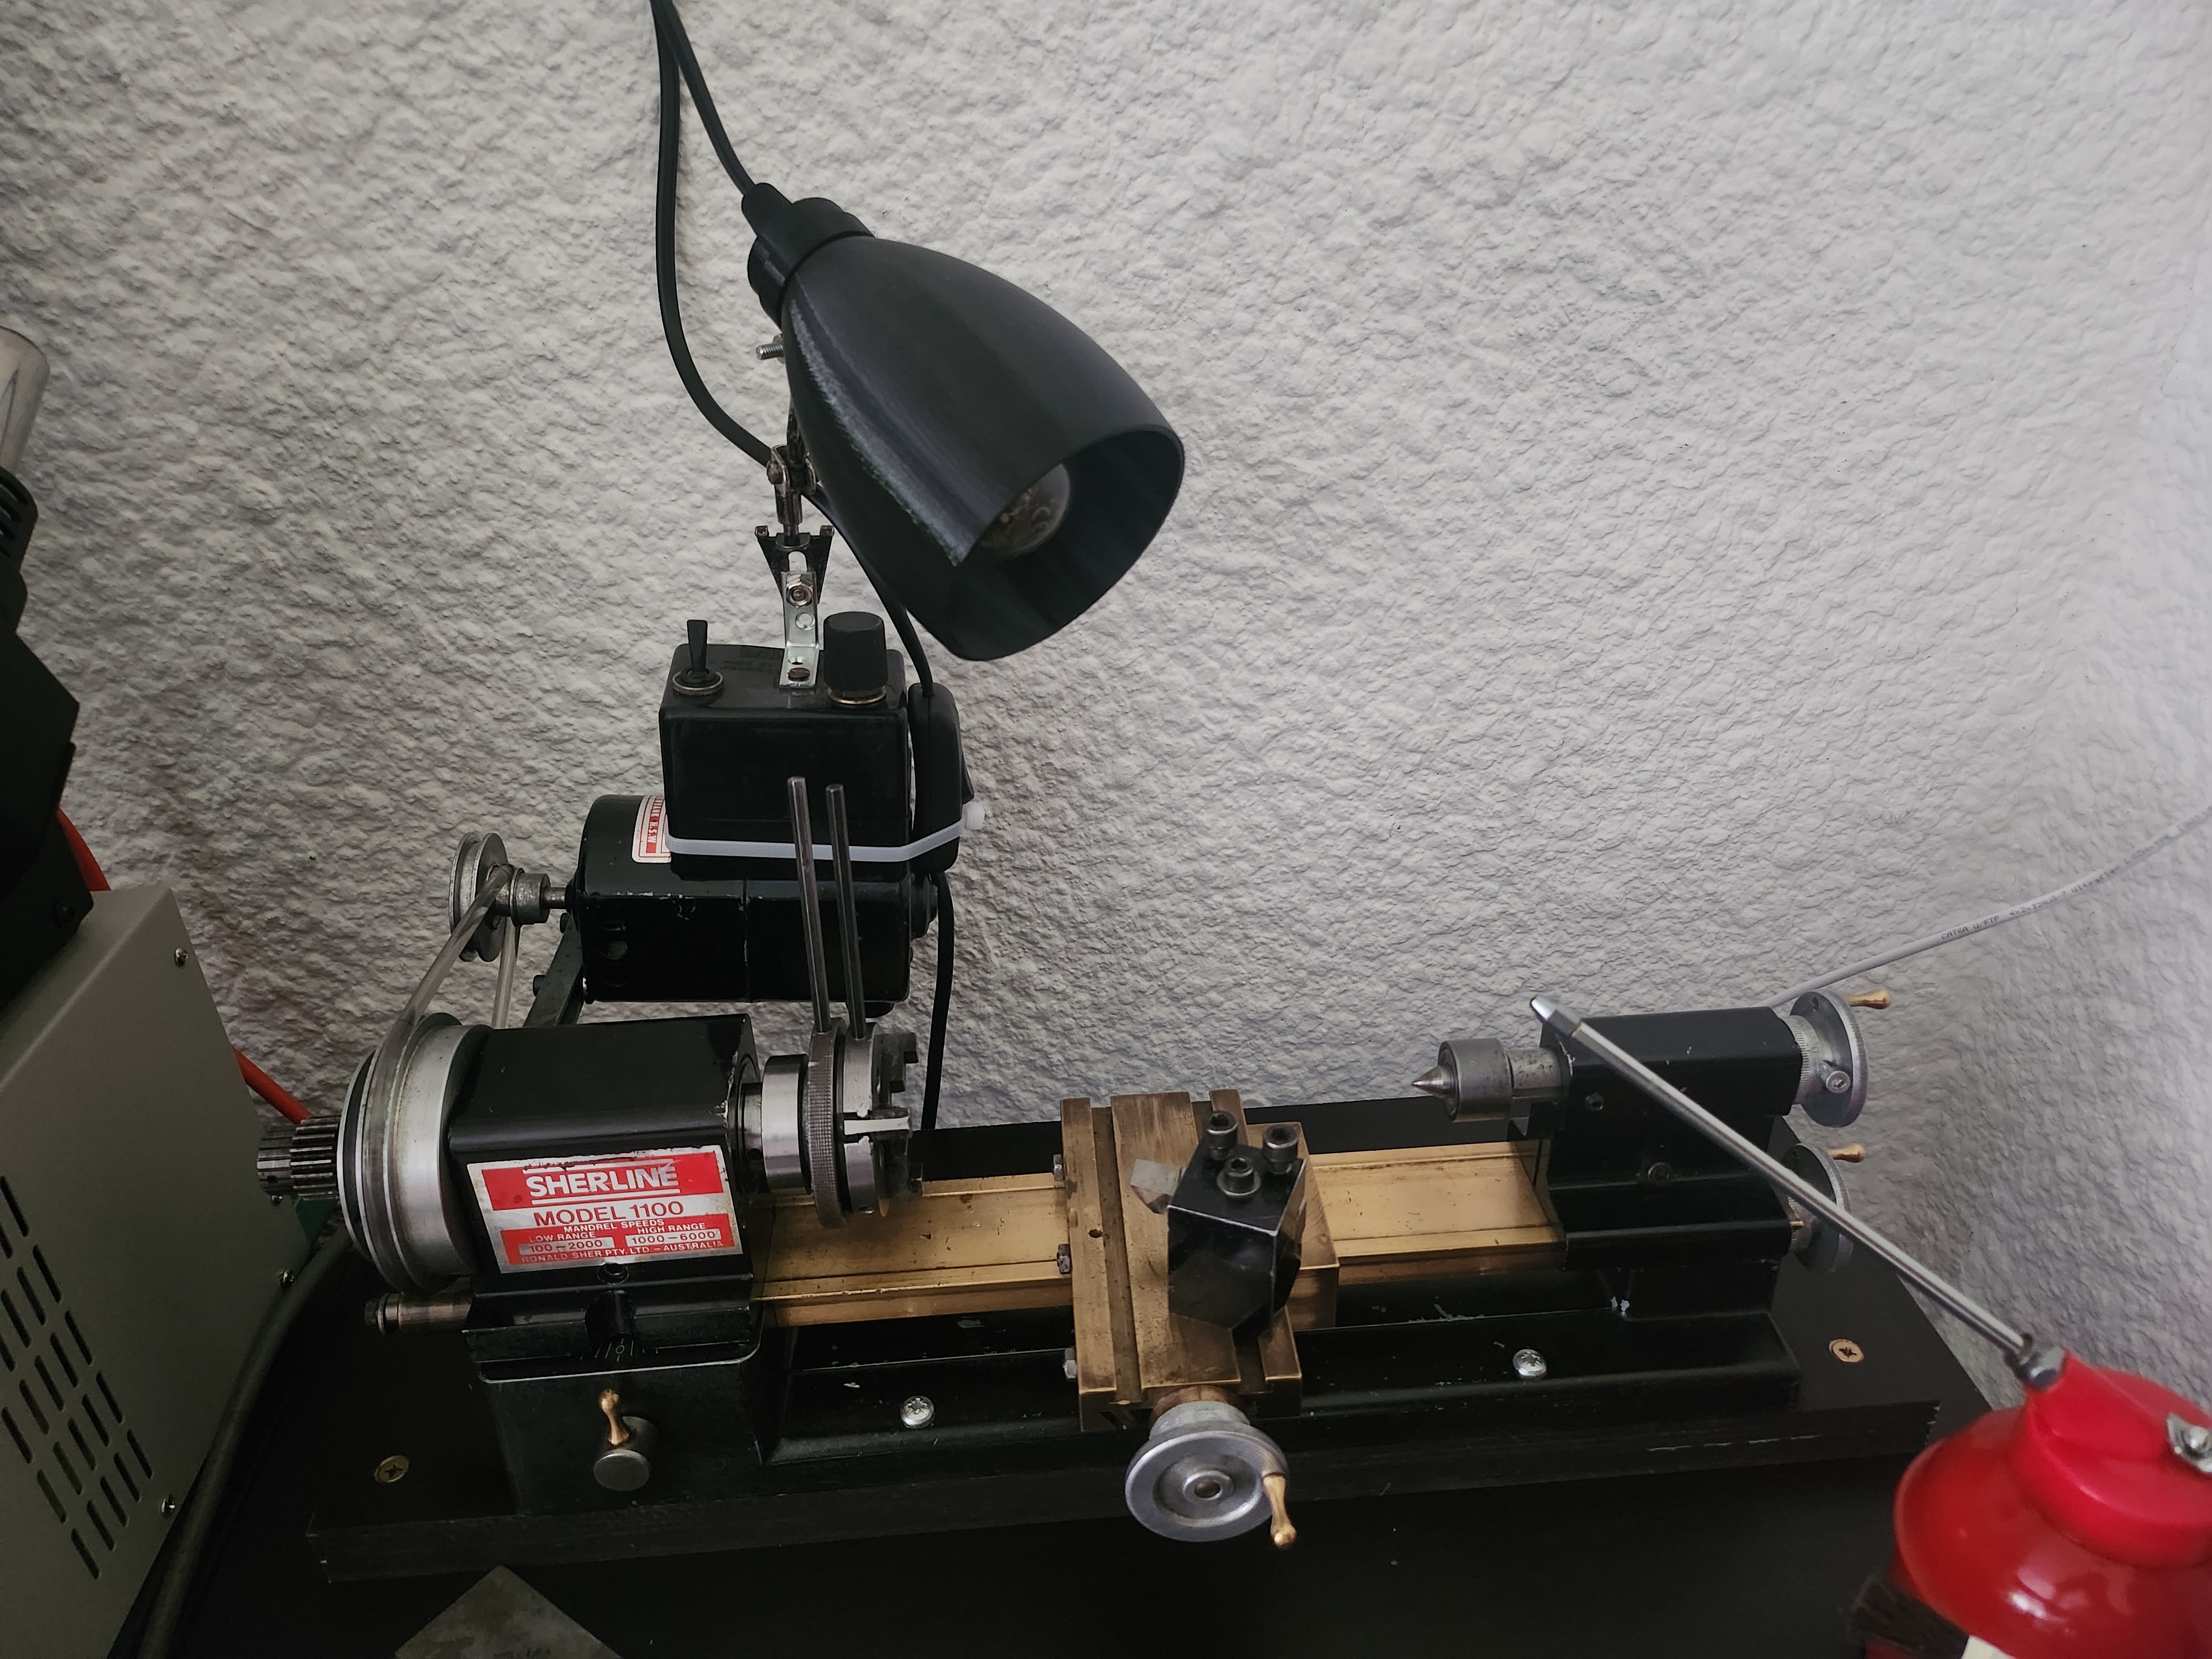 Lathe Oiled, and Cleaned and assembled
To-Do List 📝
There’s still a lot to fix:
- Motor mount bracket — seller didn’t remove the motor for shipping, so it’s sagging badly
- Replacement belt — current one is a cheap welded type with a broken joint
- Backlash on the carriage — currently two full turns (!), should be ~¼ turn according to Sherline
- Make tooling
- Make a backsplash
- Fix chuck jaw placement guide in the manual
- …and more to come
Note: Everything was done while listening to BONES’ latest album DUNGEON go check it out!
Cost Breakdown 💰
| Item | Quantity | Unit Cost | Total Cost |
|---|---|---|---|
| E14 Bulb | 1 | CHF 8.40 | CHF 8.40 |
| Light Switch | 1 | CHF 1.20 | CHF 1.20 |
| E14 to 240V Cable | 1 | CHF 8.95 | CHF 8.95 |
| Cable | 1 m | CHF 12.50/10 m | CHF 1.25 |
| Crimp | 4 | CHF 0.50 | CHF 2.00 |
| 3D Filaments | 50 g | CHF 30.00/kg | CHF 1.45 |
| Whale Oil | 1 L | CHF 9.40 | CHF 9.40 |
| WD-40 | 1 can | CHF 12.50/300 ml | CHF 12.50 |
| Shop towel | A lot | CHF 2.50 | CHF 2.50 |
| Grand Total | CHF 47.65 |
Conclusion 🎯
Here are some tips to save you headaches:
- Watch out — not all sellers understand basic shipping safety
- Don’t rush — it’s better to do it right once than redo it later because you messed up